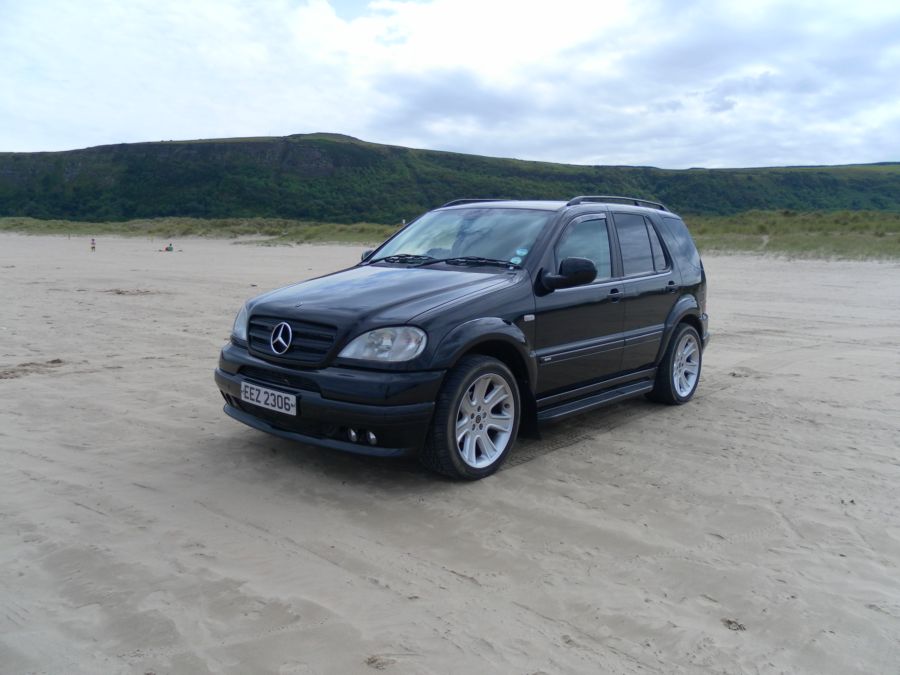
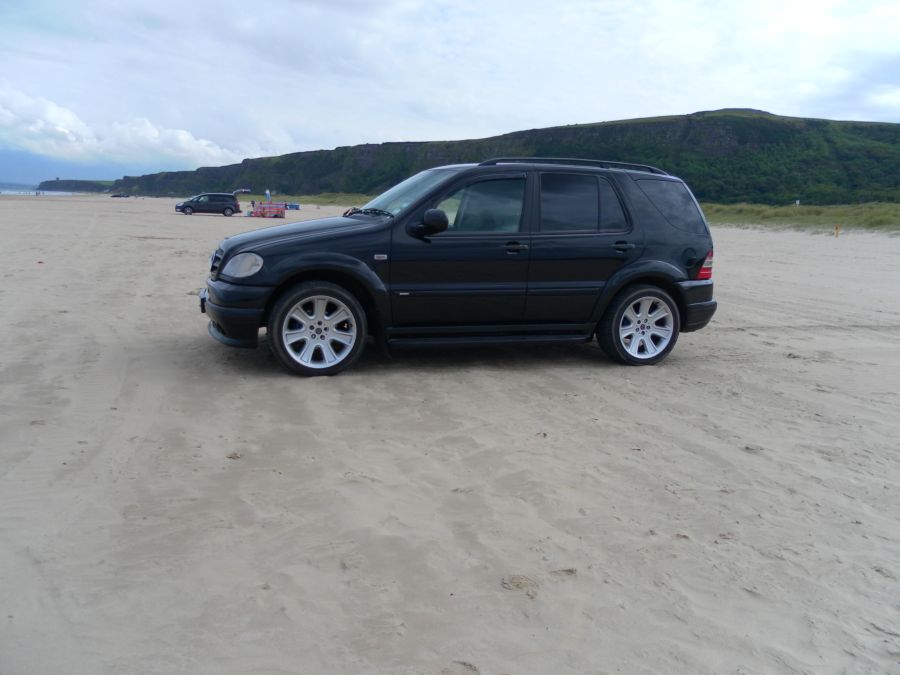
08/07/2011. It looks like I may need to re-name my site to something German because today I bought a Brabus ML! I hadn't been planning on changing the blue ML as its been excellent (touches wood "head") and is doing everything asked of it but when I saw this car I fell for it. An ML with a Brabus kit. Or was it? I'm jumping ahead to 09/07 and have found out it actually 'IS' a Brabus ML. It has Brabus suspension, brakes, exhaust, all the correct badges and a bespoke interior. Plus its definately tuned. I had no idea of this when I bought the car. I'm quite excited now and am really going to put the effort into having it look as well as I can even though it is to be my kind of daily driver after the Panda Van.
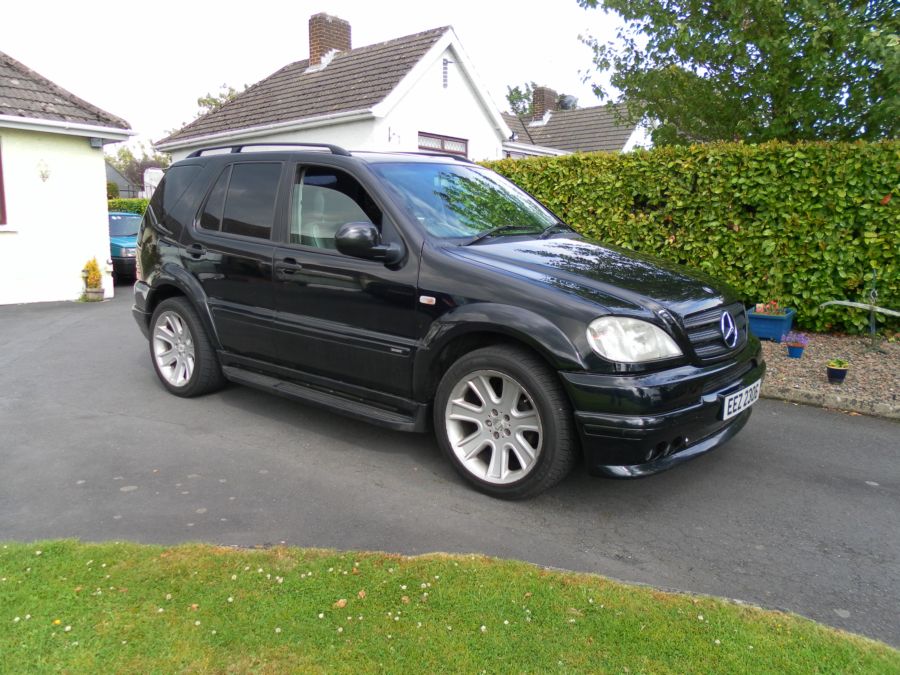
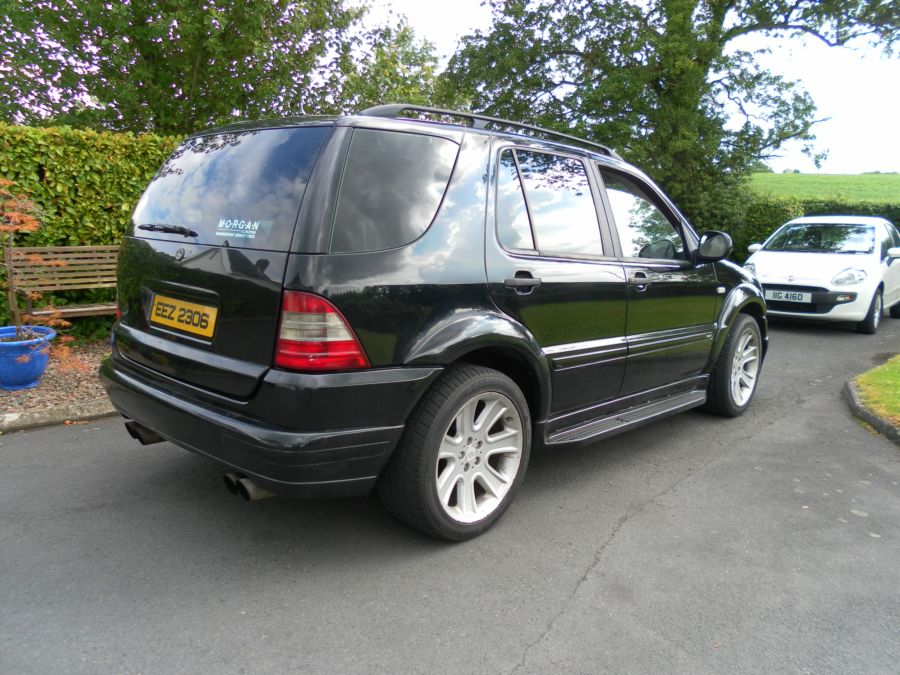
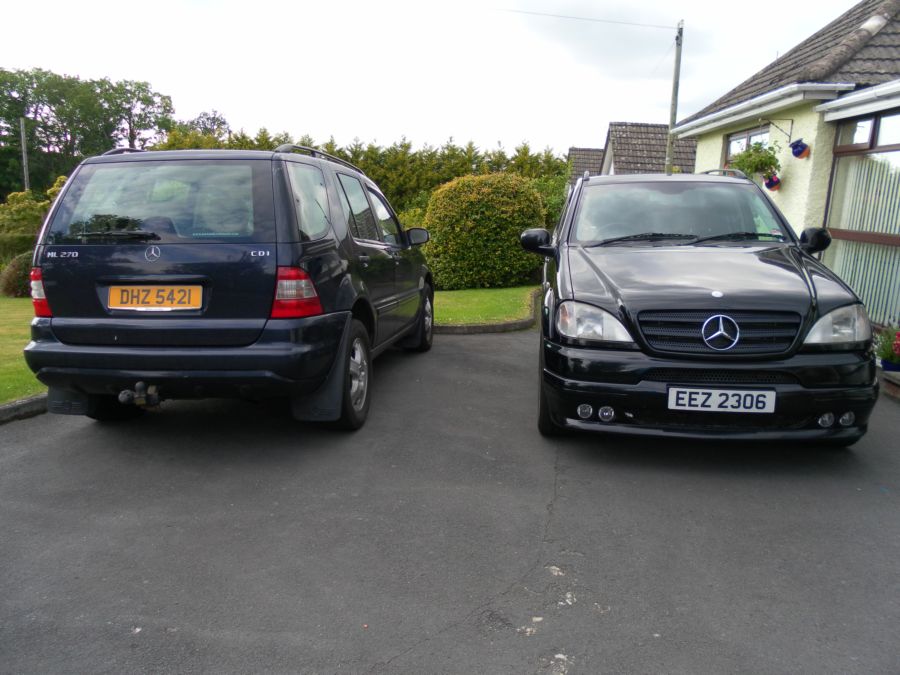
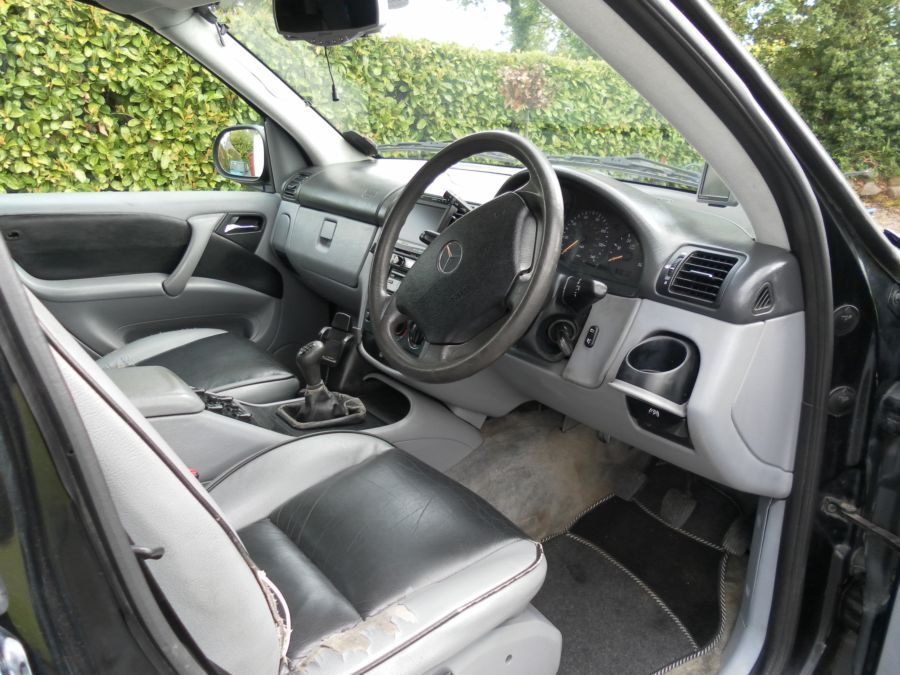
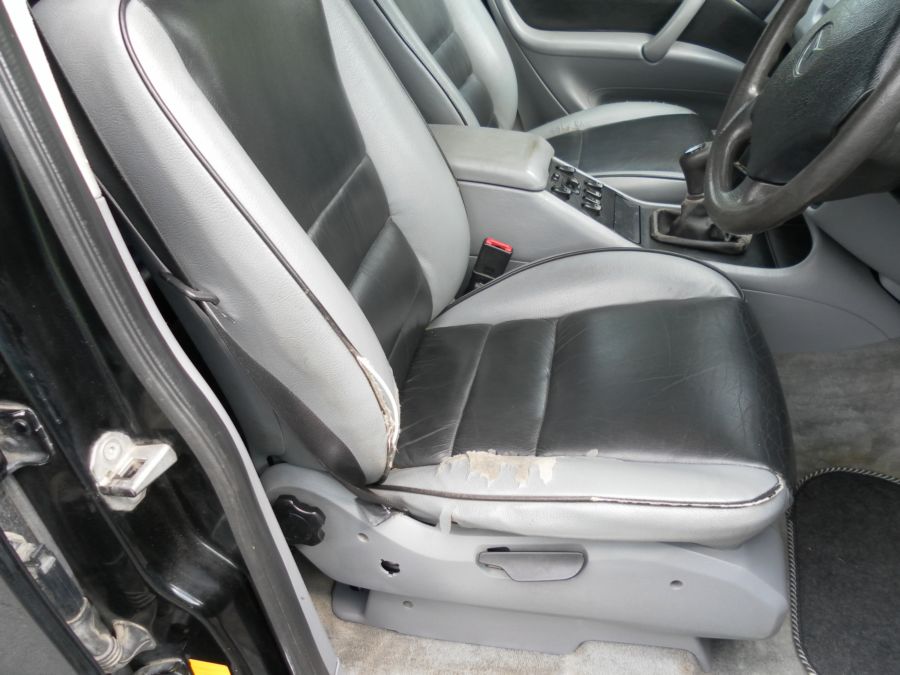
There is just one area that lets it down. The interior has taken a bit of a hit over the years and its a bit worse for wear I'm afraid. When I went to look at the car the owner did tell me the interior needed looking at but I still found it hard to take in as the outside looks so well. I very nearly didn't buy the car, it was like a marmite moment that went on for 20 minutes. Look at the car from the outside I was nodding my head thinking "Mmmm I really want this car", then opening the doors and thinking "OH NO I really don't want this car". I think its the first time I've ever been totally caught as to what to do. In the end 2 things decided it for me, the owner had been totally genuine about the car from the outset, and my Wife agreed to let me spend the money to completely redo the interior. I'm happy.
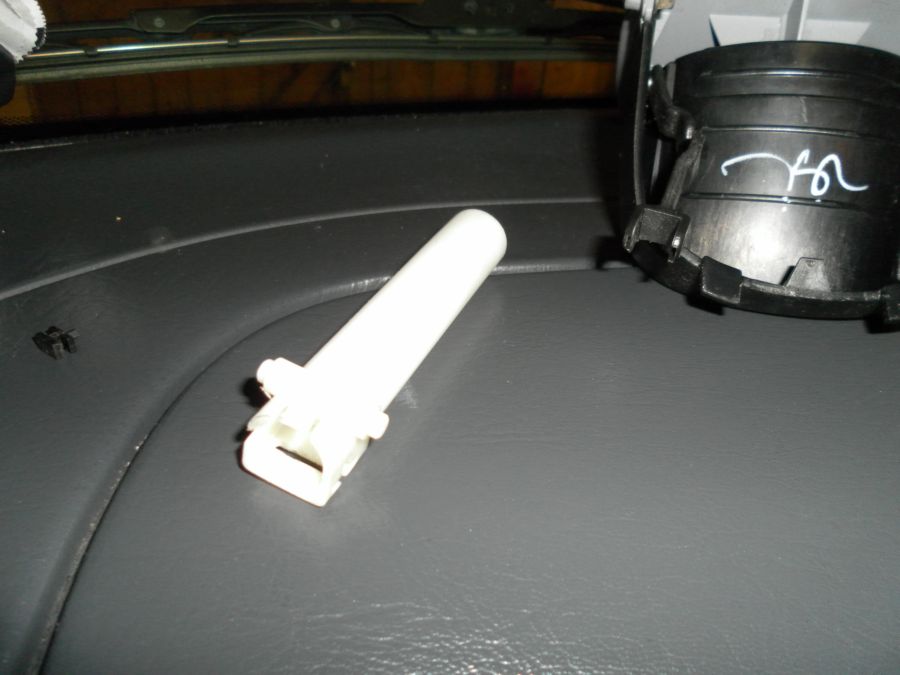
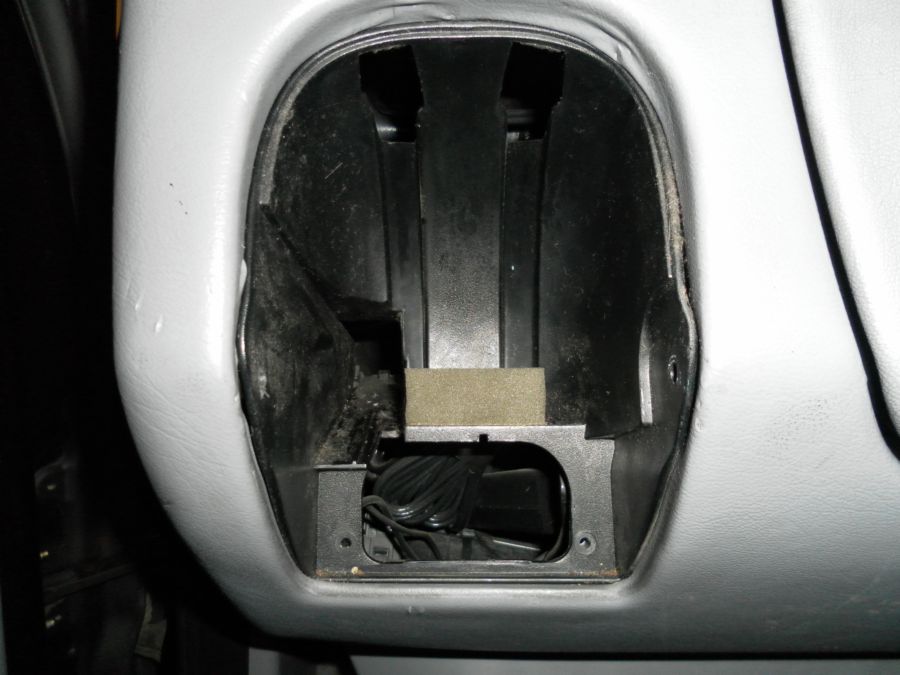
09/07. The plan is to get the car finished and on the road for the end of July so I'm starting with the interior and working out from there. The cup holders in the dash and the glove box are broken so I looked at the cup holders first. It took nearly an hour to get them out, well the passenger side as I'd no idea how it came out. The holder itself is ok but the innards of the white long thing that would have made it open and close have dissapeared so it just flaps about. To my pleasent surprise the driver side one had a 5p piece stuck in it and once this was out it worked.
Next was the glove box. 2 things were wrong with it. It wasn't closing and it was hanging off.
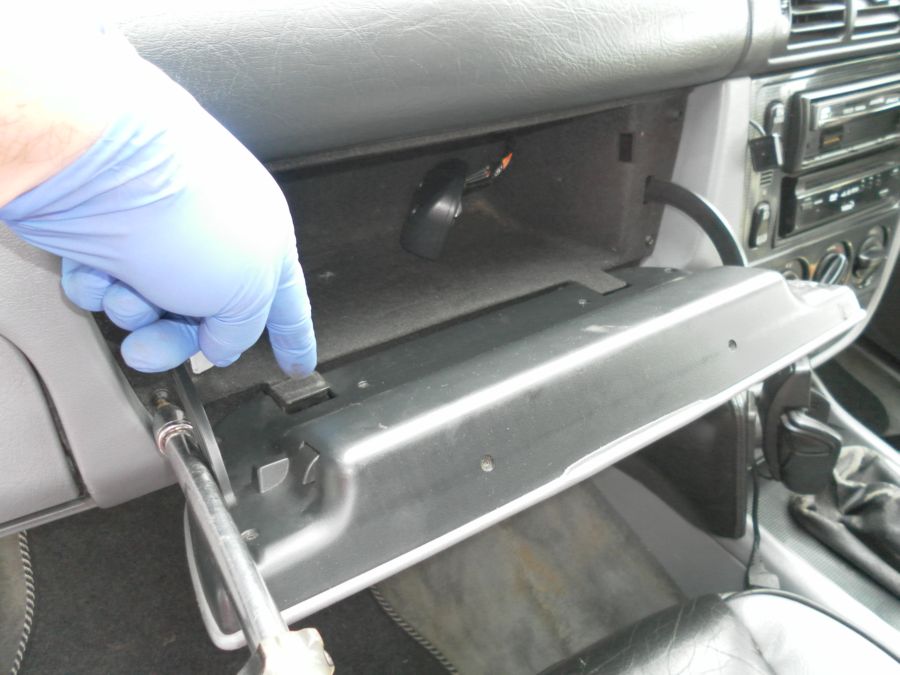
I had to take the whole unit out which took time as not to break anything else. Once out I discovered that the problem was a long pin was missing. I made a new pin from the throw away bit of a pop rivet. It fitted perfectly.
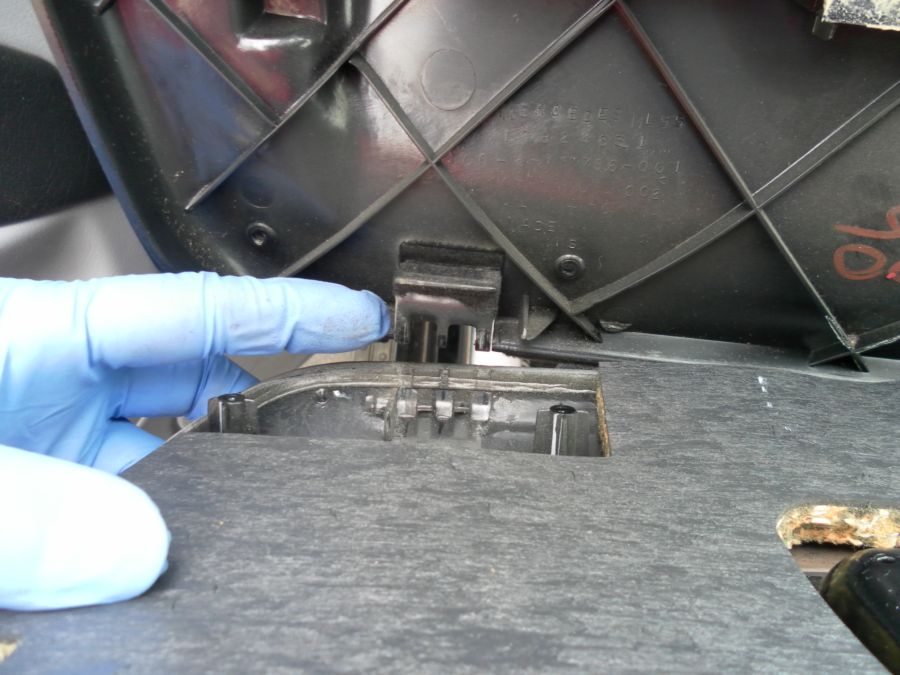
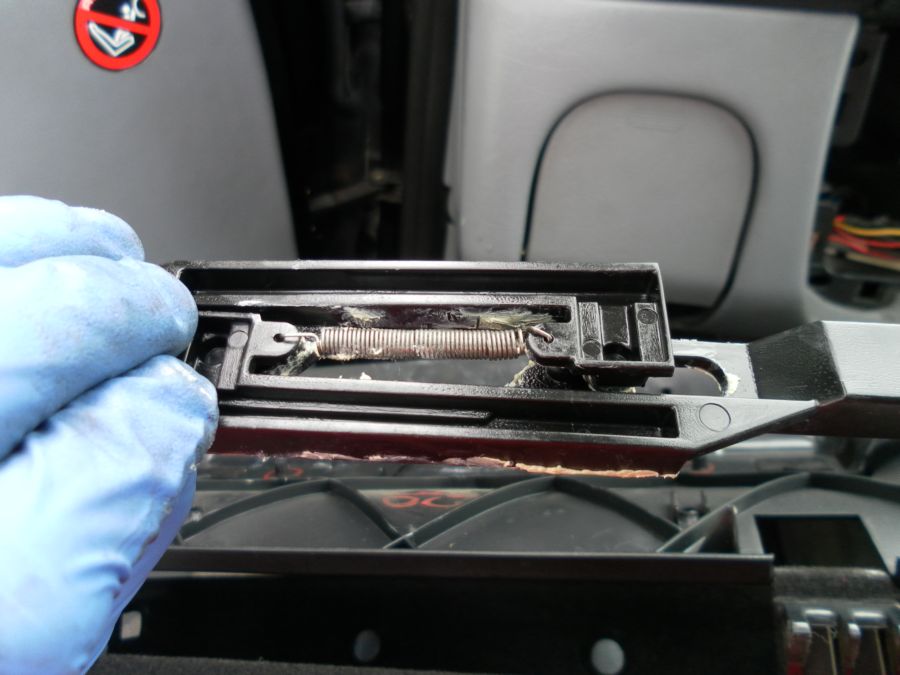
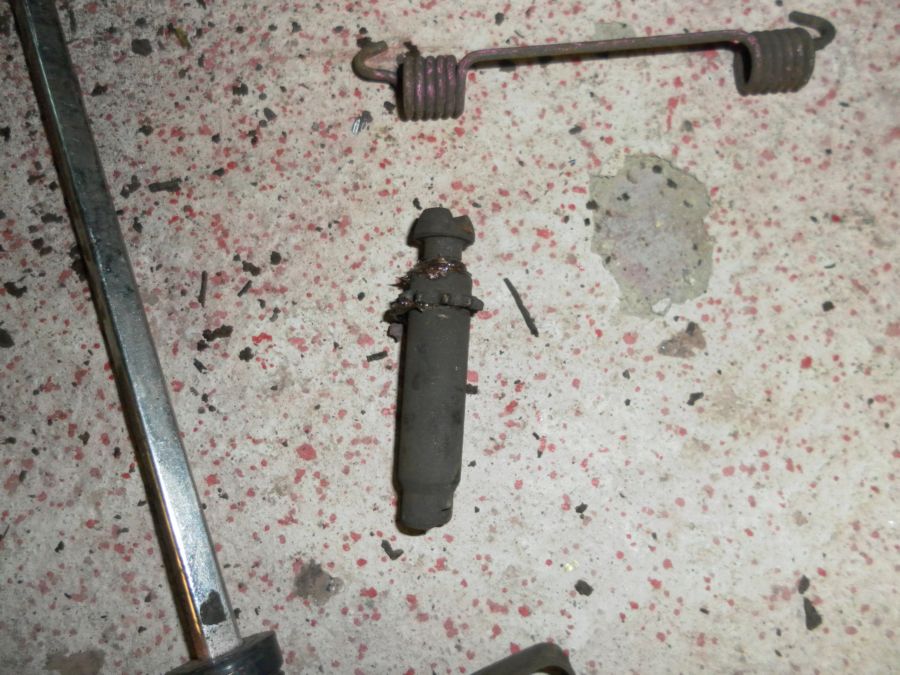
Moving on to the closing mechanism it was clear that something was broken inside. The latch was flapping about and nothing was happening. I took the box door apart and what had happened was the spring had broken that puts pressure on the 2 door locks. You can just see were its broken, the tip of the screwdriver, then end had broken off.
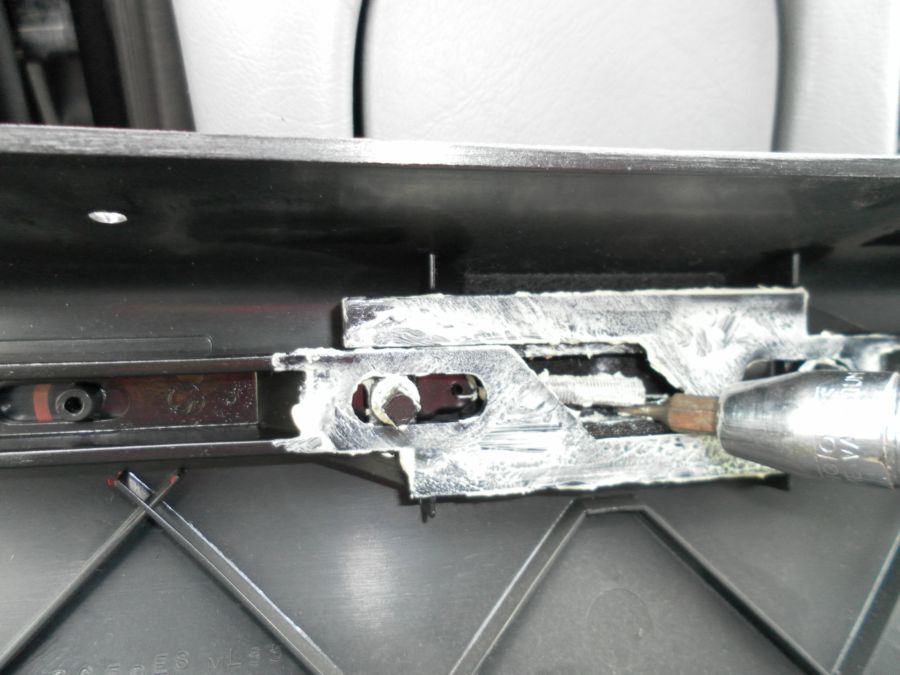
I was able to bend a new end on the spring and after a lot of fiddling I got it back into place. I put it all together and now I have a working glove box. I must admit I was worried that I was going to have to buy a nw glove box.
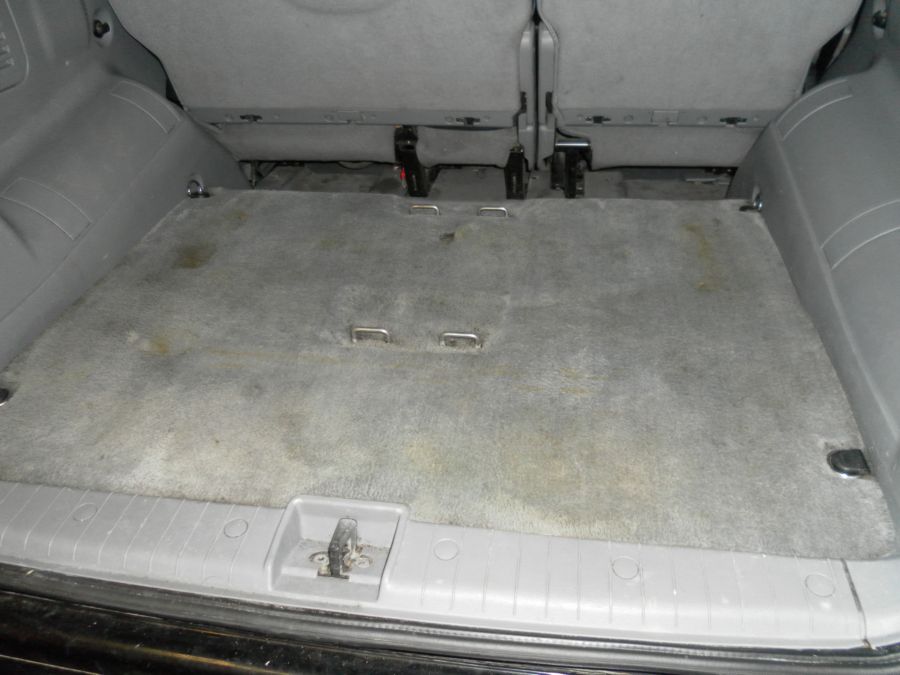
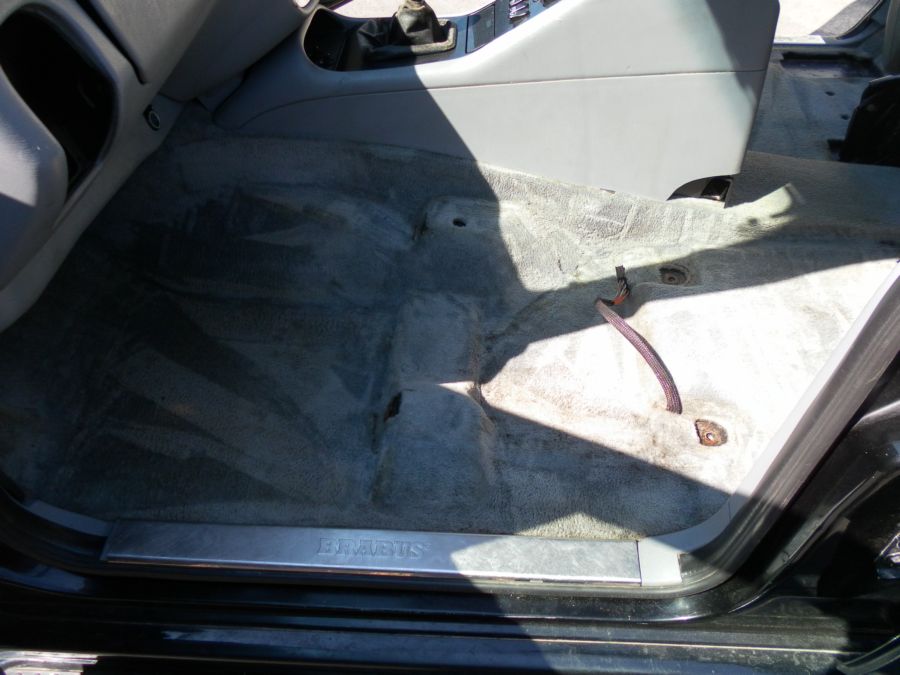
With that done I turned my attention to the boot floor. It needed a clean as does the rest of the floor but I won't do that until I have the seats away to be redone.

Out came the steam cleaner and some towels. I was at it most of the afternoon and will probably have to go over it again with a proper carpet cleaner but its starting to come back up. There is a couple of marks that I think will just not come out.
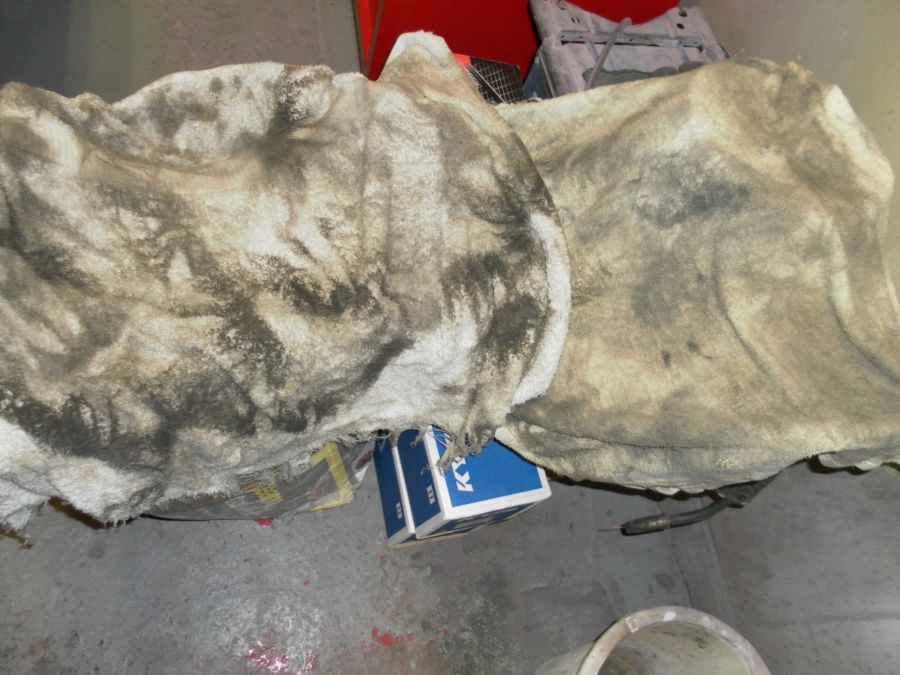
The towels tell the tail of how much came out, they were very clean when I started. I love steam cleaning.
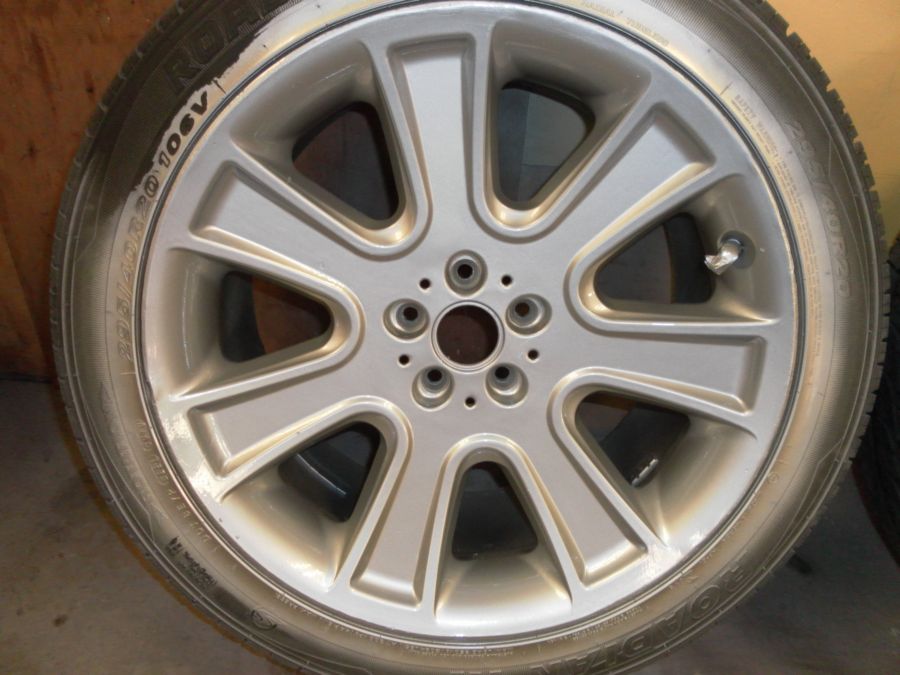
12/07. As the weather is very warmat the moment I decided it would be a good time to repaint the wheels. So off they came. They are heavy wheels!
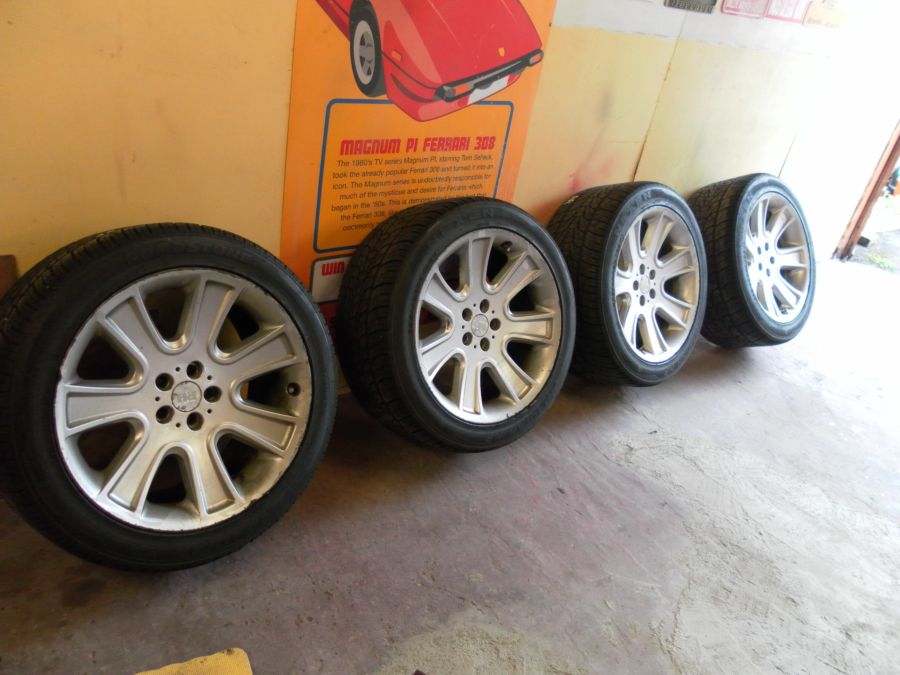
13/07. Got the wheels painted and lacquered yesterday and this morning got all the overspray rubbed off. The picture is when I had just started to take the overspray off.
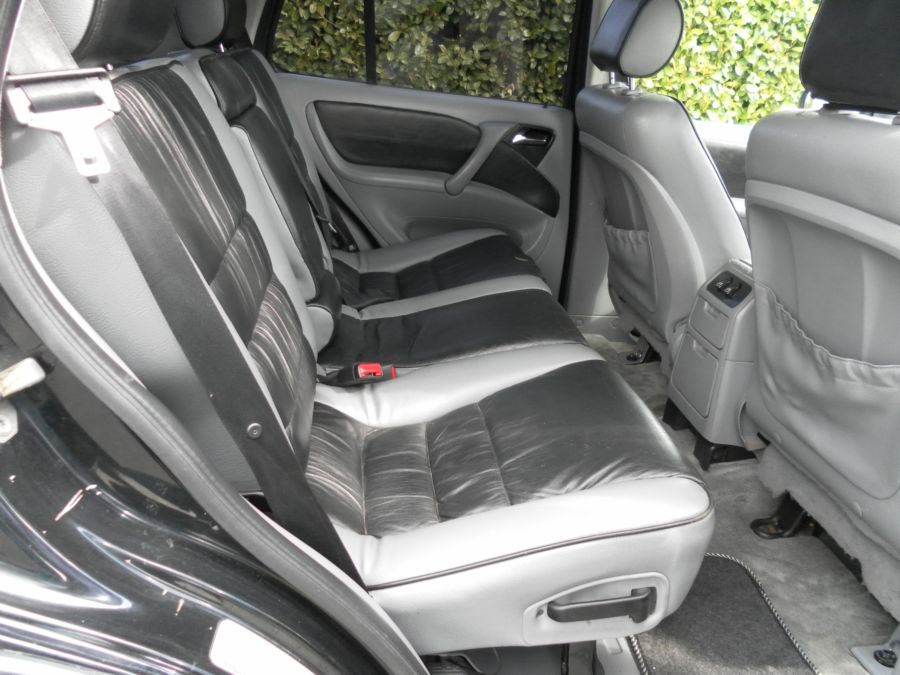
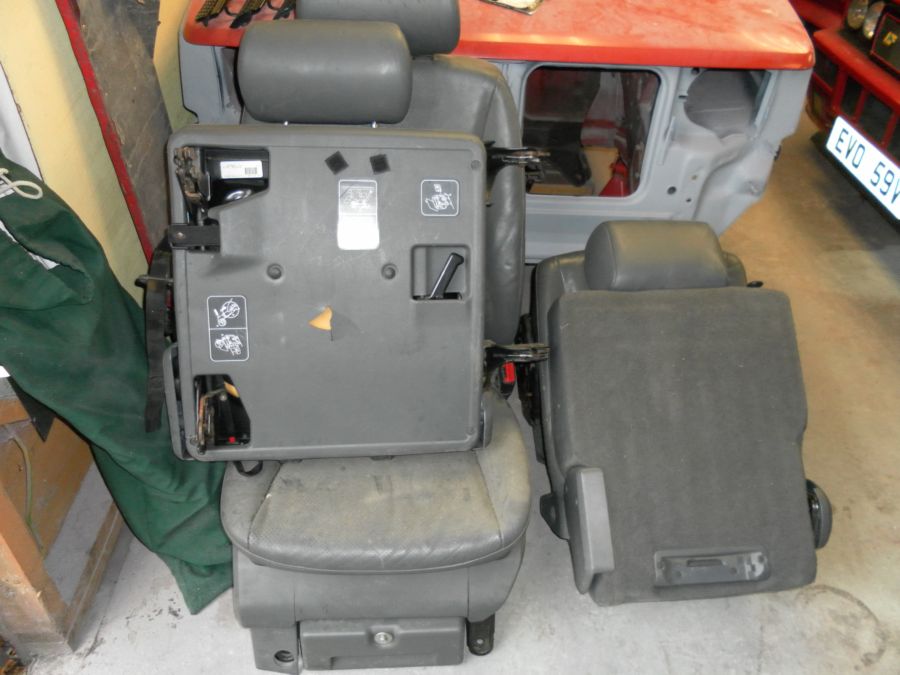
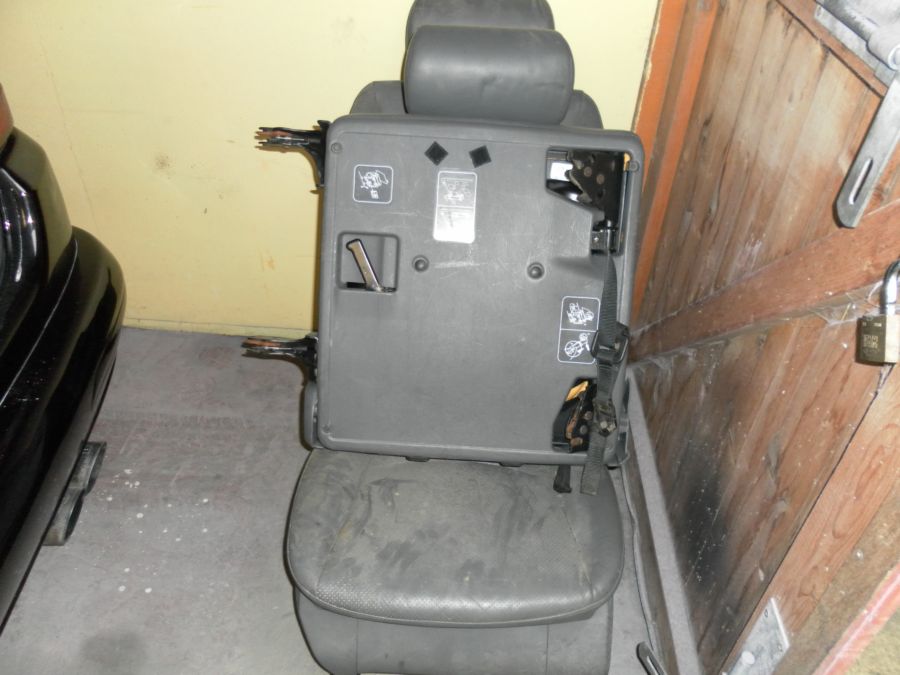
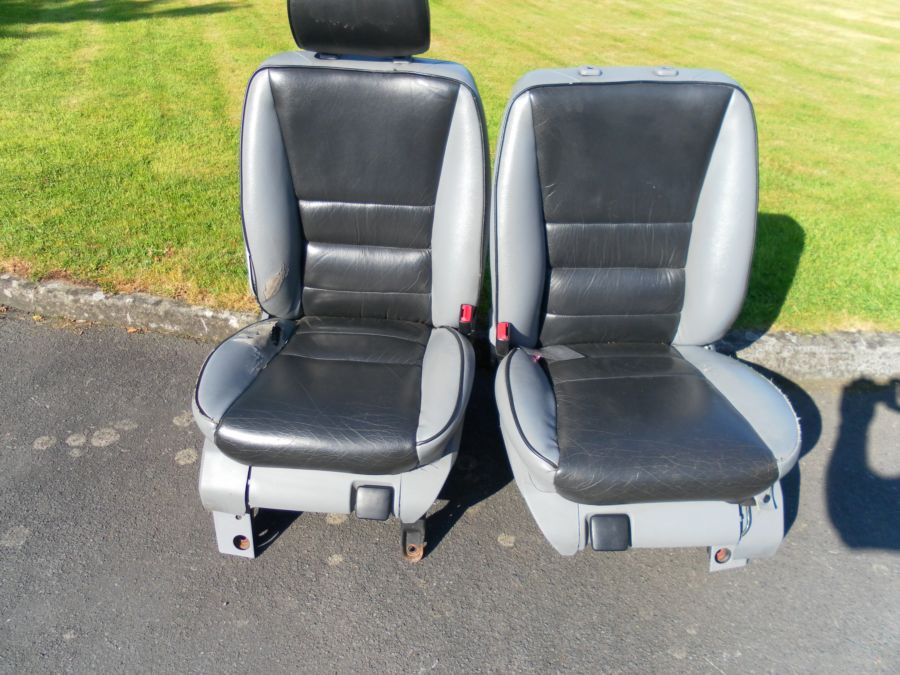
18/07. I had been wondering what to do about the interior as I'd been quoted a lot more than I had to spend to get the seats recovered. I was also looking for a 3rd row set of seats as this car didn't have them. Well a local breakers had a crashed ML with a full 7 seat grey leather interior. I went to see if it woud suit and was surprised when it was a newer model of the same type of ML and the seats were in almost excellent condition apart from being very dirty. Not only did I get the seats, I got the anchor mounts for the 3rd row seats, seat belts for the same, all the plastic bits were the seat belts come through, a centre consul which isnt the same as mine but the armrest is in the same leather and that will swap, and a steering wheel as the one on my car isn't in good shape. Needless to say I bought the lot for a very reasonable price and off I set home.

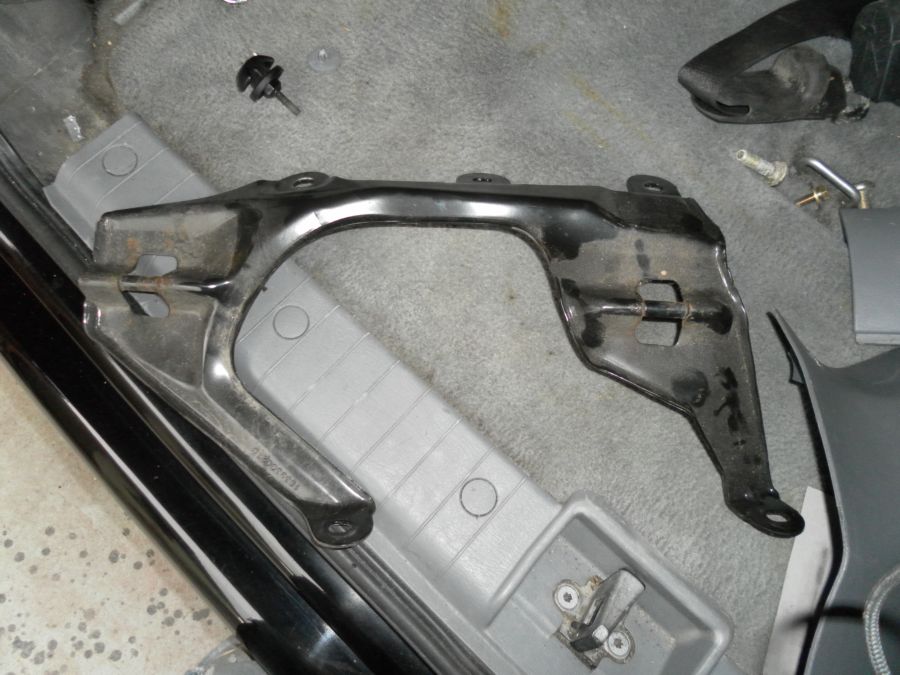
All the seat belt bits, even the bolts.
The anchors apparently are very hard to come across these days.
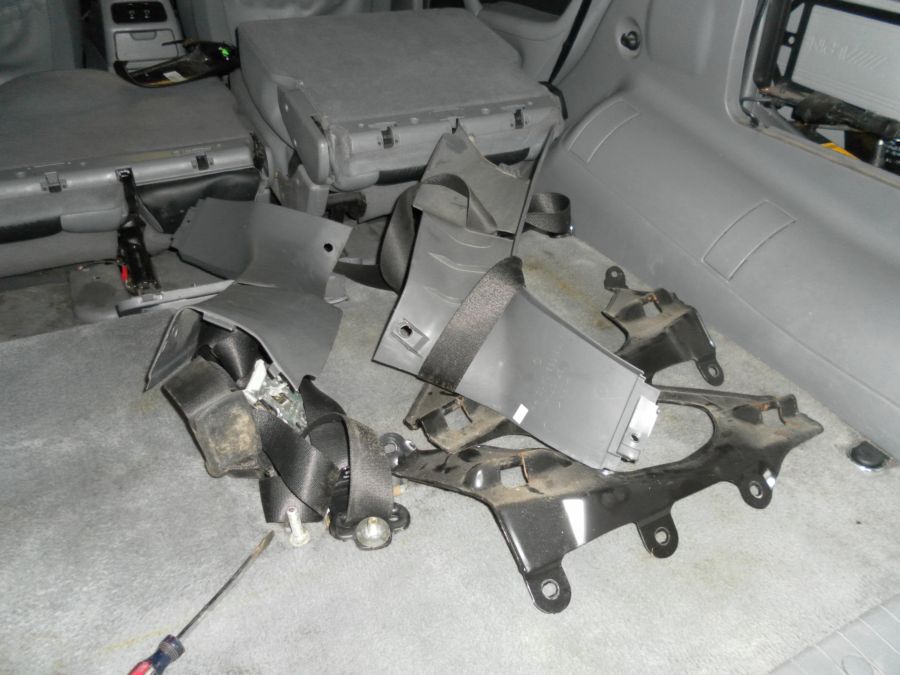
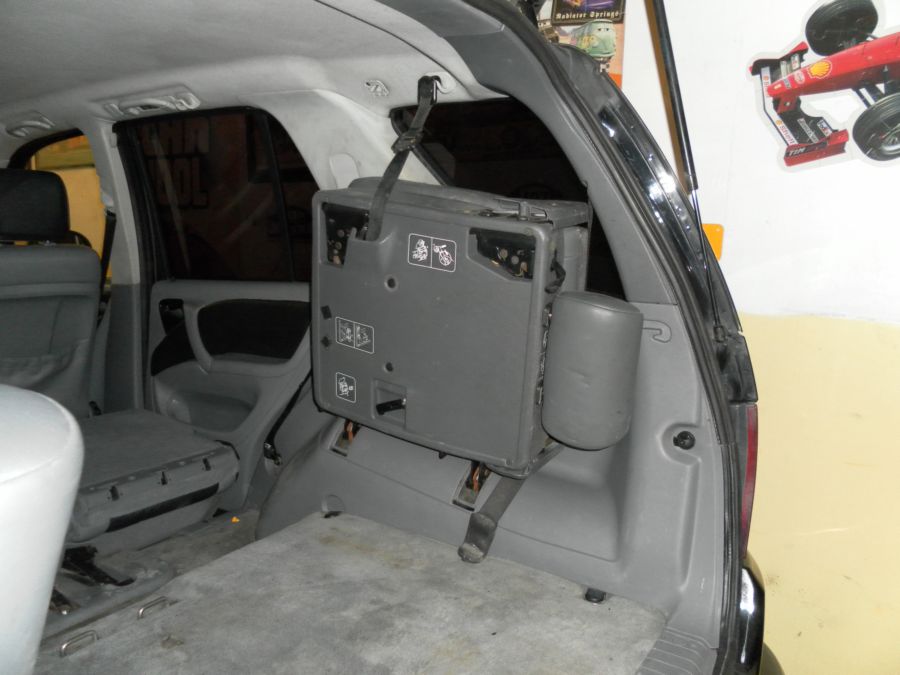
I'm rapidly running out of room in the garage so decided to fit the 3rd row seats to at least get them out of the way. The complete rear side panels have to come off to get to the studs that the anchor attaches to. The bottom bolt of the rear seatbelts has to come out along with 4 other self tappers. Its actually quite a straight forward job with only one plastic grommet not wanting to come out. Then its just a matter of bolting the anchor on. The studs are already on the body as all models must just have them there incase.
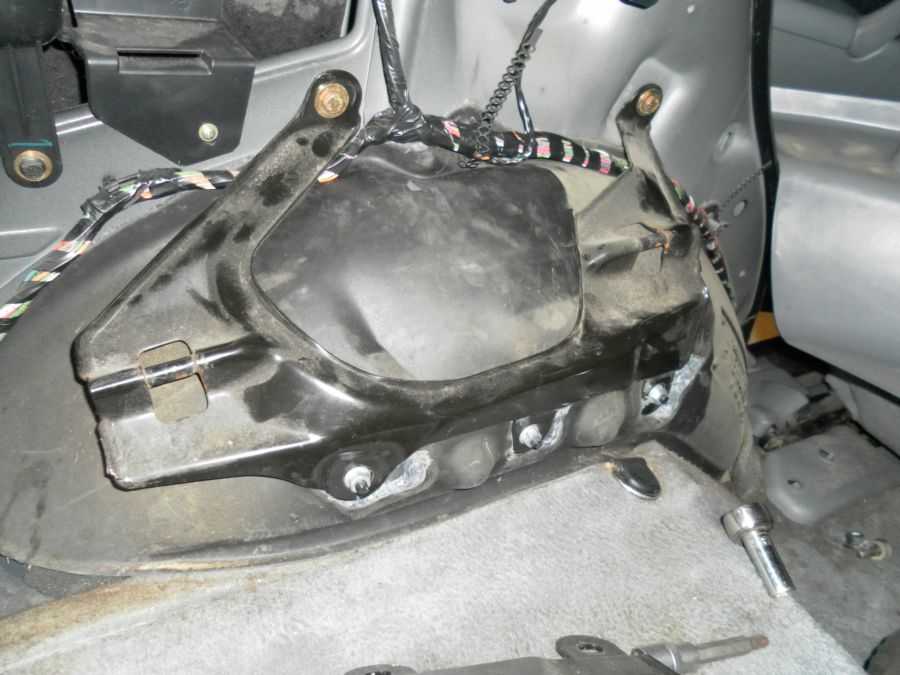
The seatbelts have to be bolted in before the side panels go back on as they are covered but once on the side panels can be put back into place. doing both sides took just over an hour and now I have a 7 seater ML. As the front seats are electric and the seats in the car aren't I'll be asking a mate whos a proper spark to come round and wire them up when I'm putting them in. A good day today as I was a bit worried about the interior.
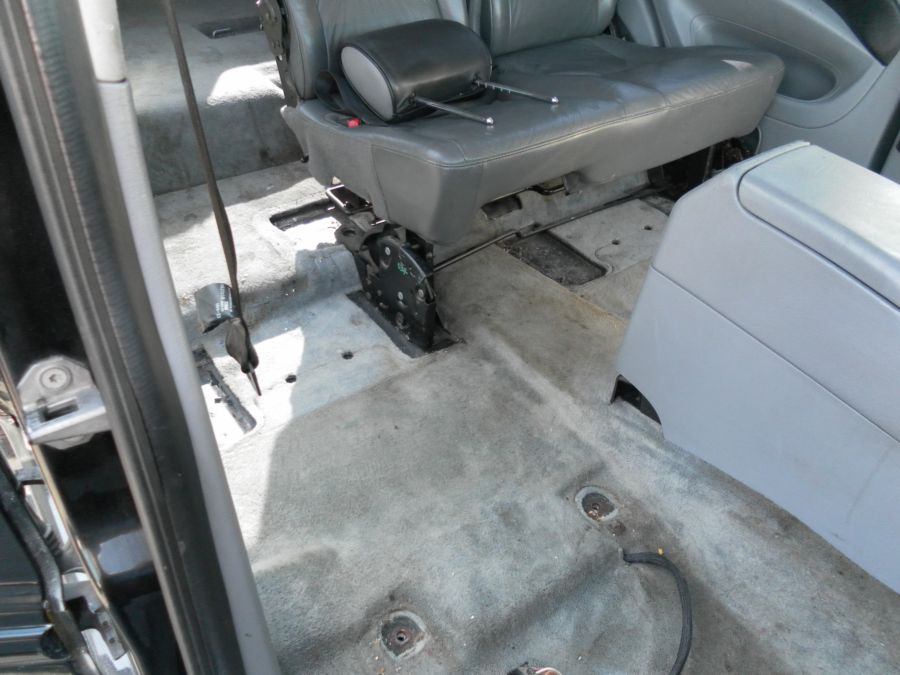
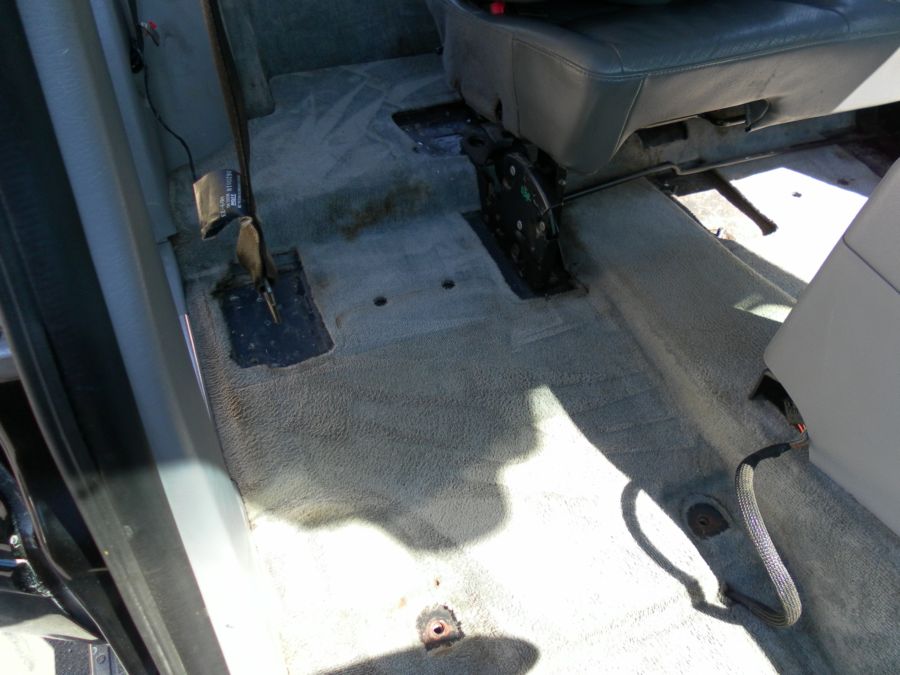
20/07. Moving on to the rear seats. It only took about 10 minutes to unbolt them as the 2/3 one has 8 bolts and the 3rd 6 bolts. I thought it best to remove the seat by lifting it out the rear of the car. They are very heavy which surprised me.
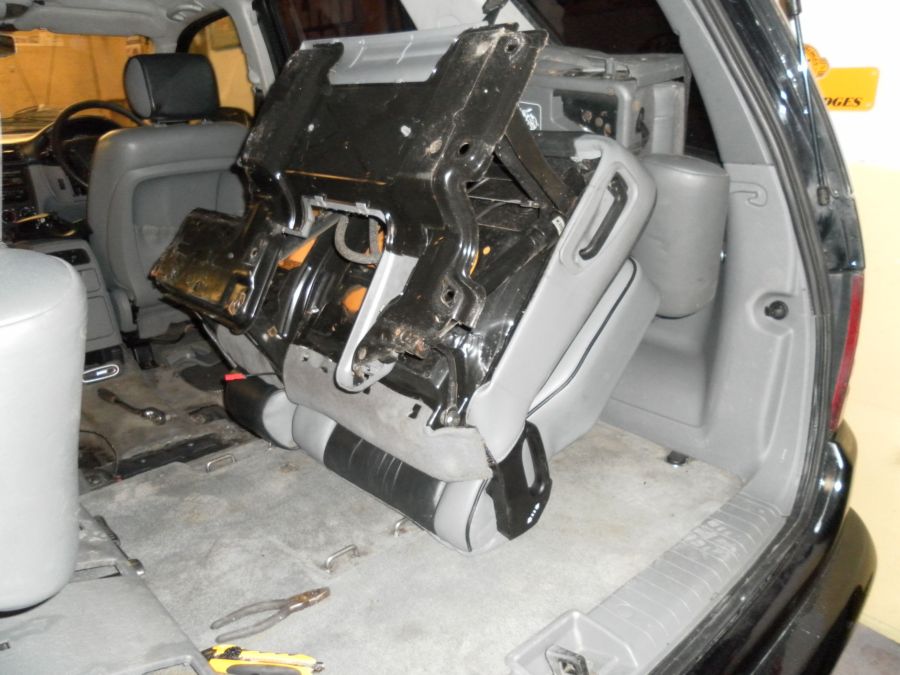
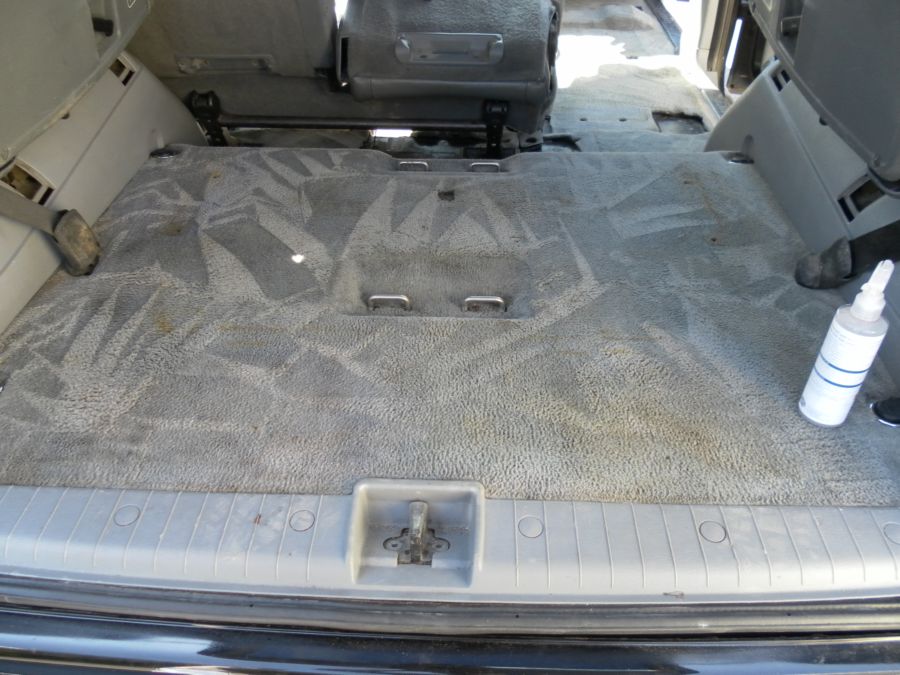
I think the carpets going to need more than a steam clean.
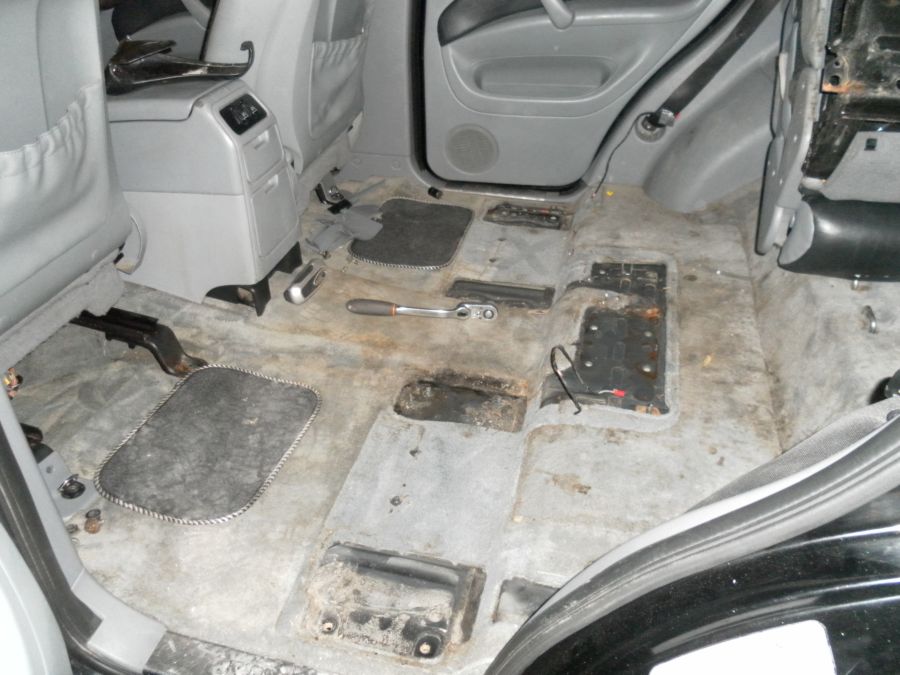
Front seats out next. Wires underneath need unplugged first though and then just 4 bolts.
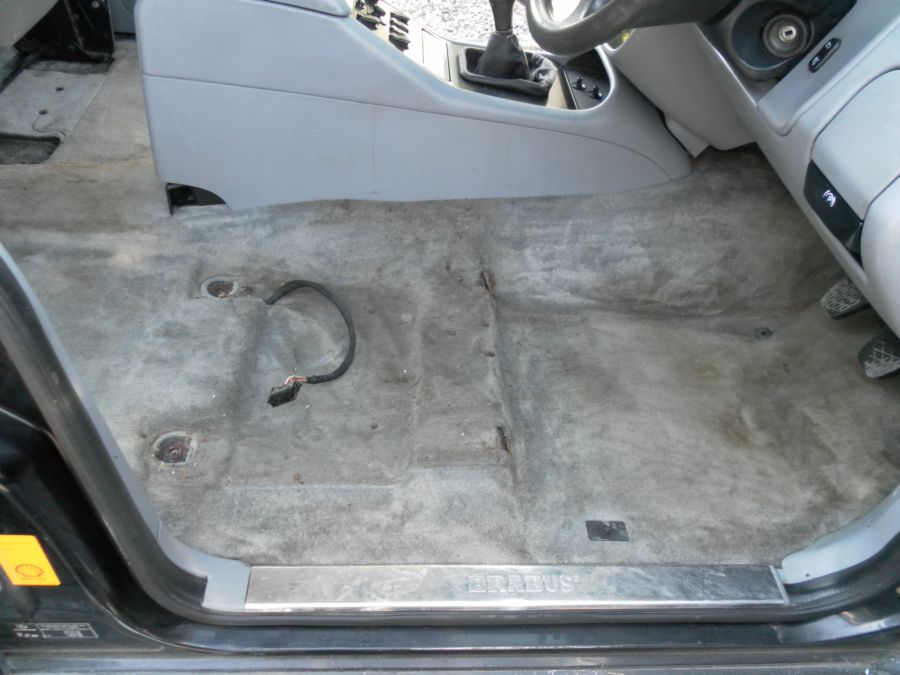
Since the car is now clear inside I borrowed a Vax carpet cleaner and will go over the entire carpet on Saturday as its to be a good day and I'll need to do it outside.
23/07. Carpet before I set about it with the Vax.

And 4 hours later.
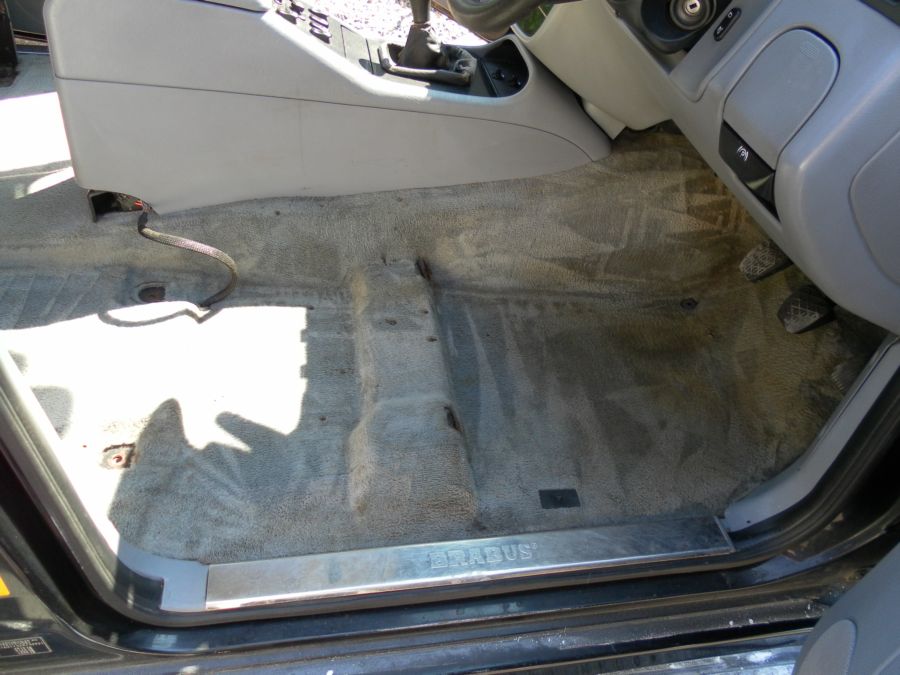
There are still a few marks that just would not come out but the photo's don't show just how much of a difference there is. I'm buying a Vax first chance I get as I would have saved a lot of time over the years if I had one.
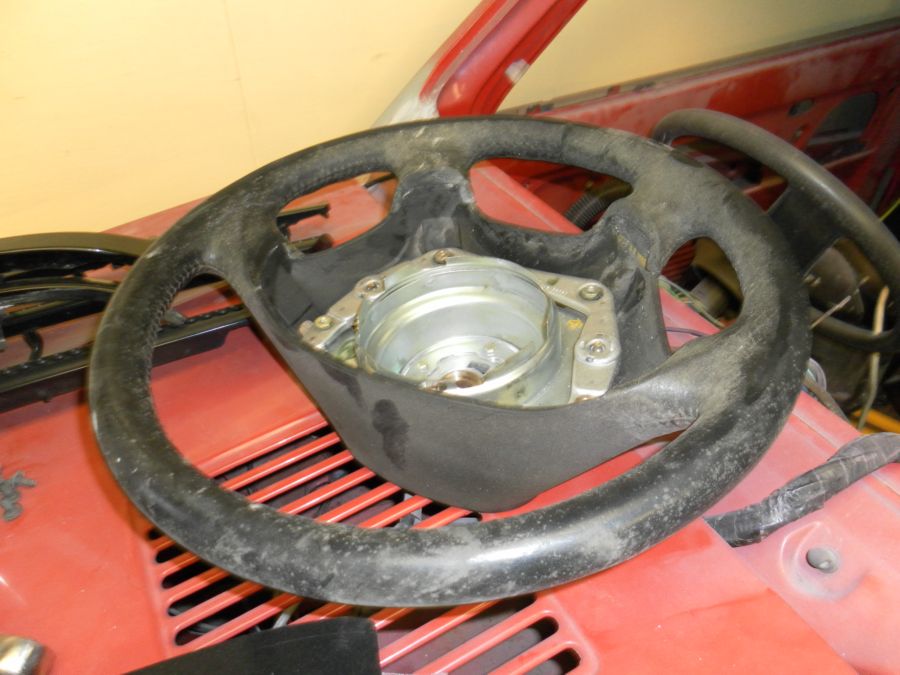
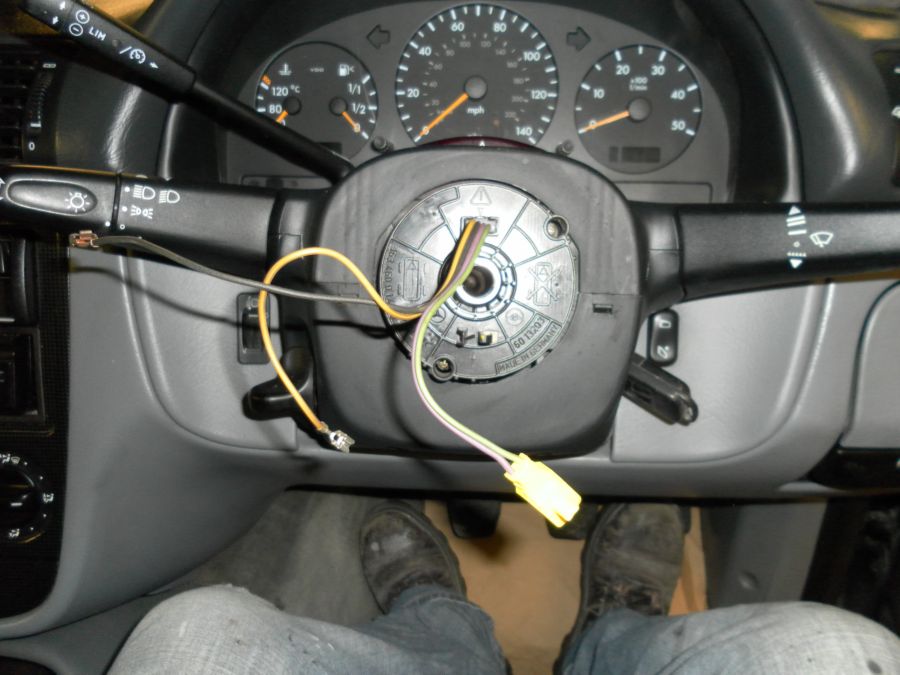
04/08. Changed the steering wheel today. A good leather one came with the interior. I had never changed a wheel with an airbag before so was a bit worried about it. I needened have as it was staight forward. The first thing is to make sure the cars battery is disconnected that way you are sure there is no power to the airbag. Take out the 2 hexi screws that attach the bag to the wheel. You get at them from behind the wheel. Its a little awkward.

Then ease the bag away from the wheel until you see the connector attaching to it. Pop that off.
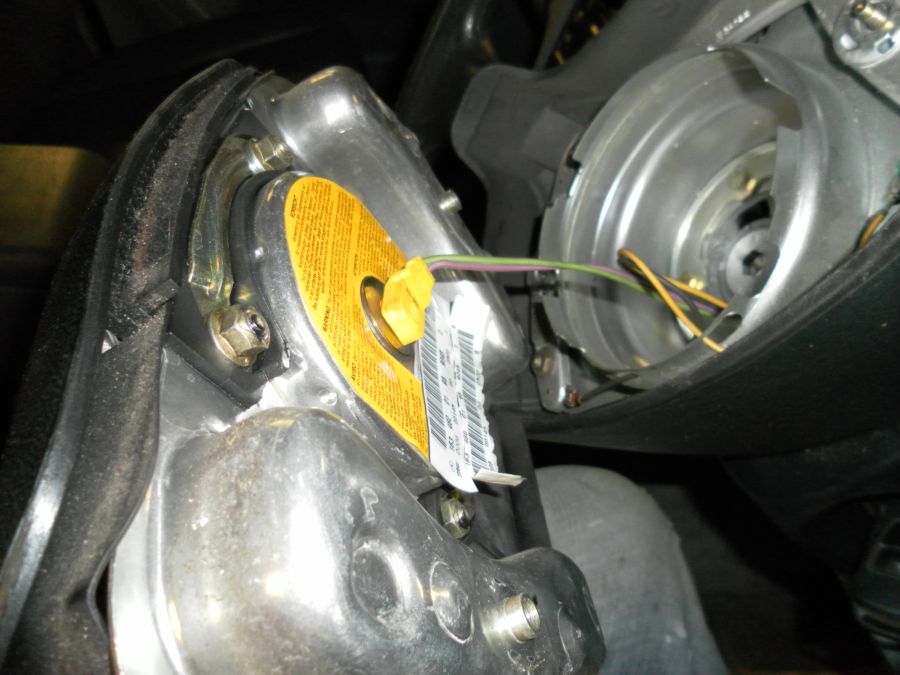
That's the bag off. Your left with the nut to take off to get the wheel off. Mine was very tight as (I suppose it should be) so took a bit of effort to losen.
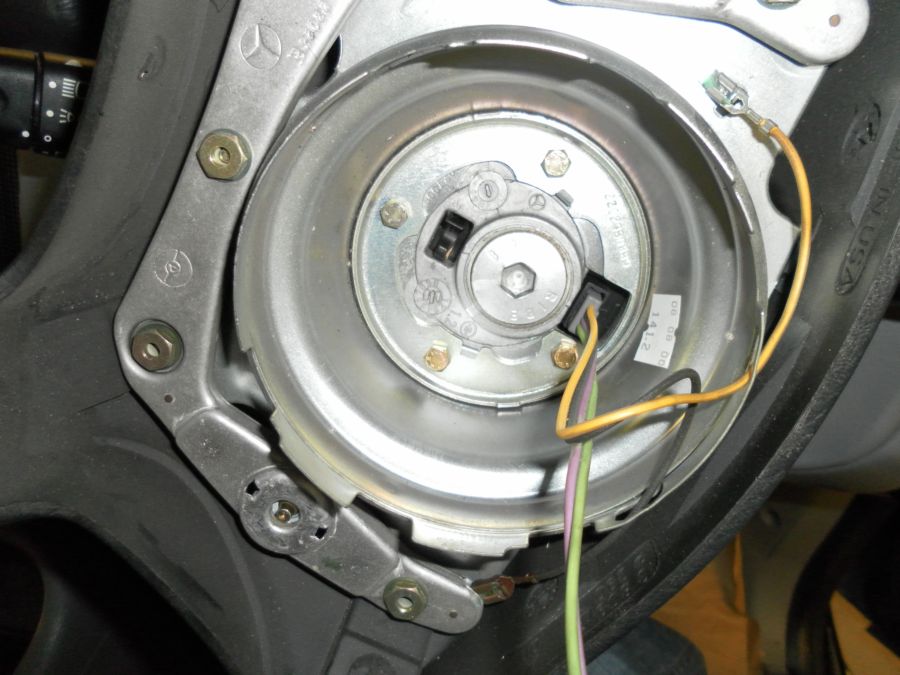
And once the nuts off you feed the wires that you see in the photo through the wheel so your left with this view
Fitting the new wheel is just the reverse of above but try to make sure you put the wheel on in the same position as the original or you'll either end up have to get your car tracked or have to start all over again to line it up.
05/08. Decided to give the car a bit of a service, oil, oil filter and air filter. 125,300 miles. I think it needed it.

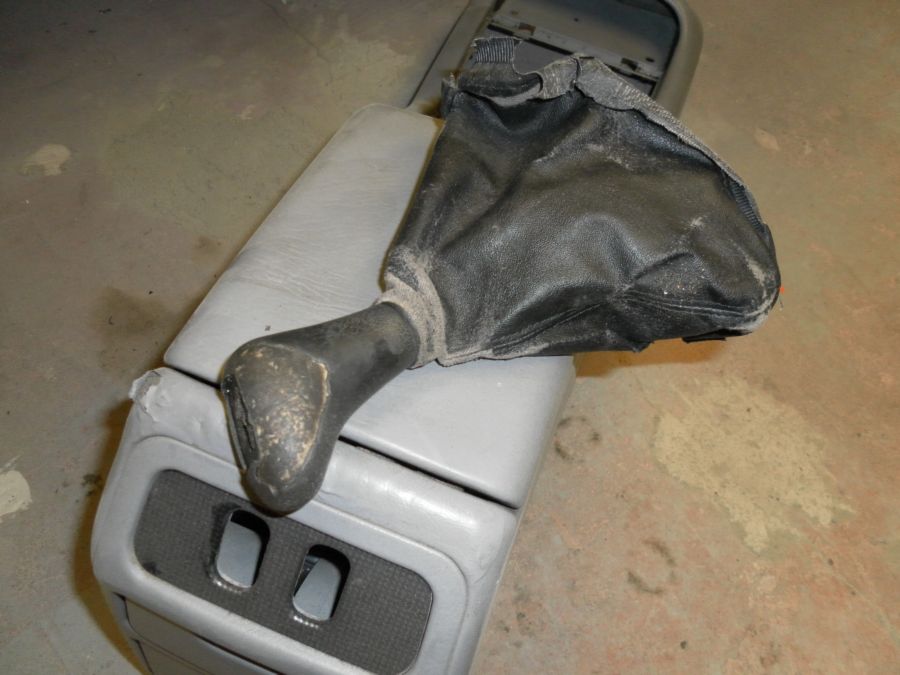
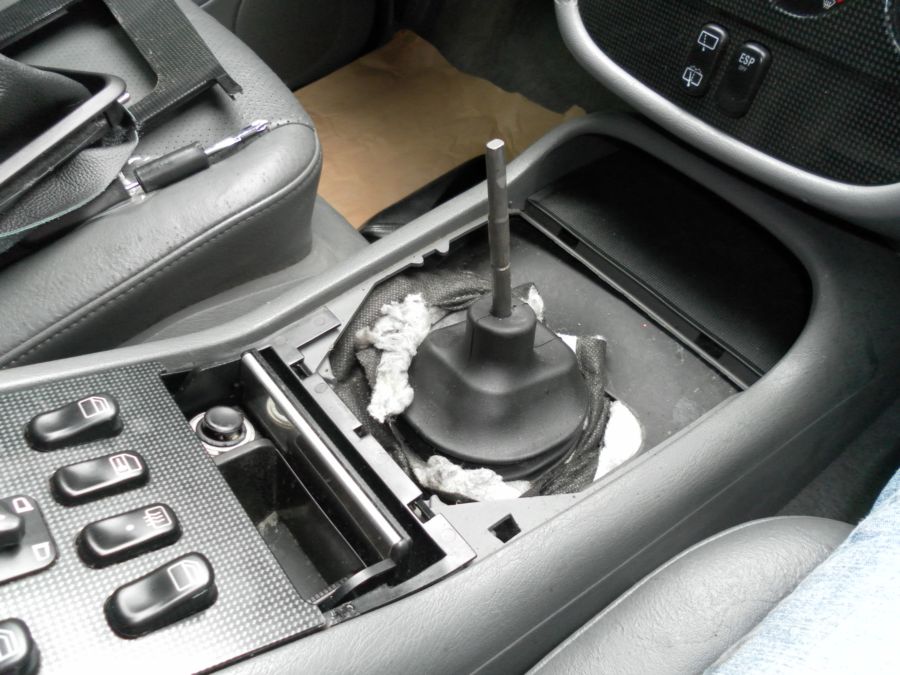
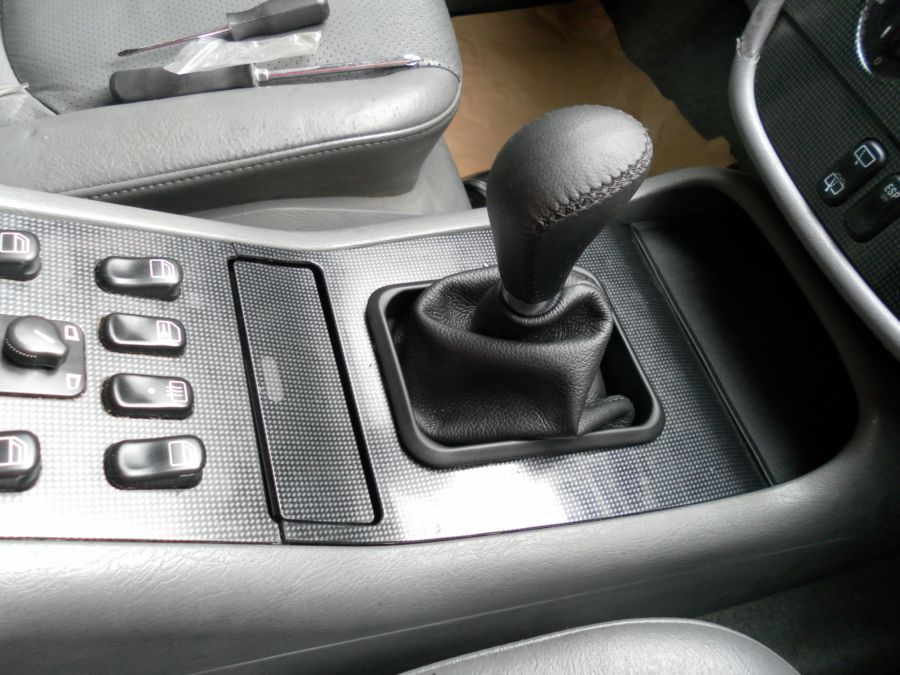
06/08. Gear knob and gaitor change. Both were in a bit of a state. New ones arrived yesterday. There's a plastic surround for the gaitor that has to come out first then the center consul has to lift out to get at the old knob. One twist with grips had it off.
Fit the new gaitor to the plastic surround and then attach the new knob. Its one of those ones with the 3 little allen key nuts.
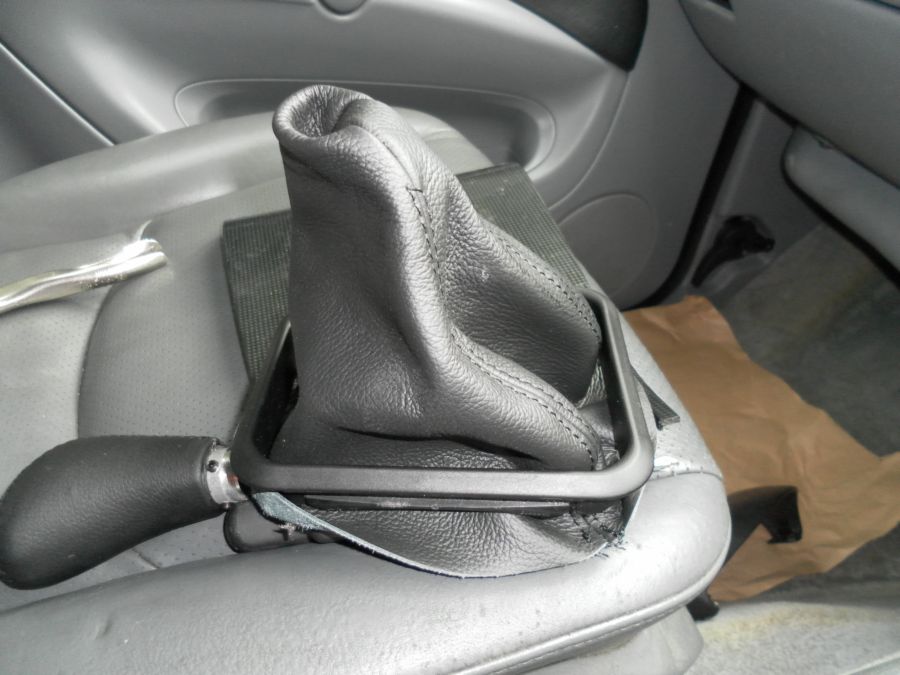
And put it all back together. 20 minutes and all in.
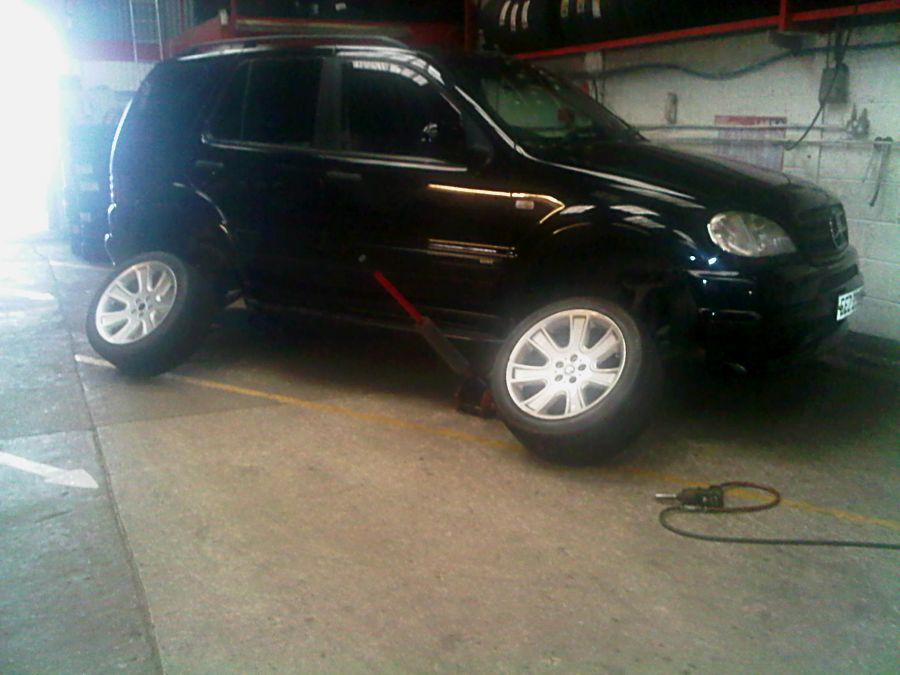
16/08. Left the car in at my mates tyre place to have its wheels balanced before going on hols as there is a slight vibration coming through. It made all the difference. Took the photo with the phone so its not great.
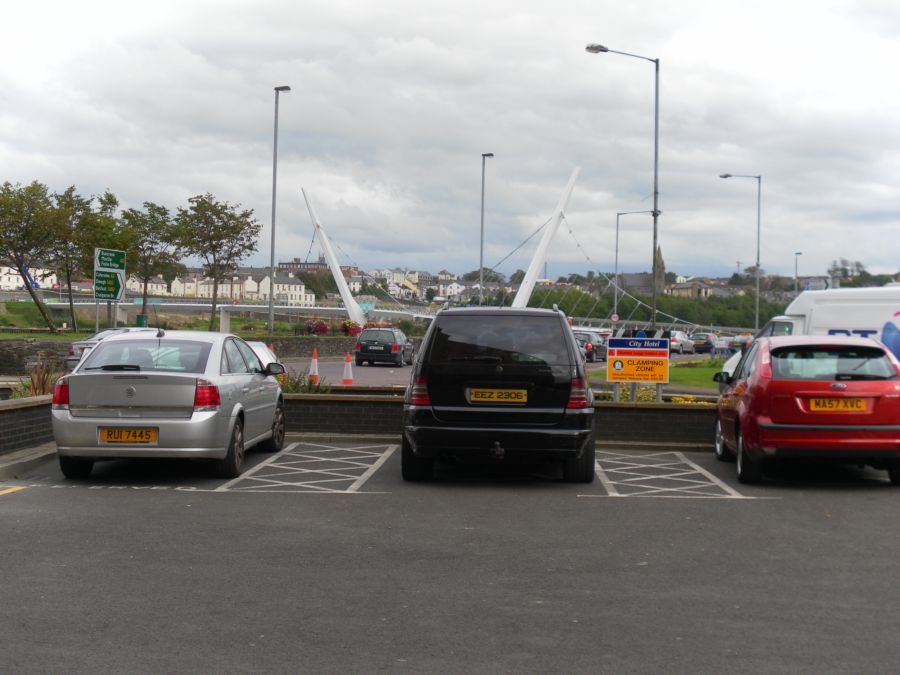
23/08. We decided to go for a break for a few days to Londonderry and the hotel we stayed in was right beside the new peace bridge there.
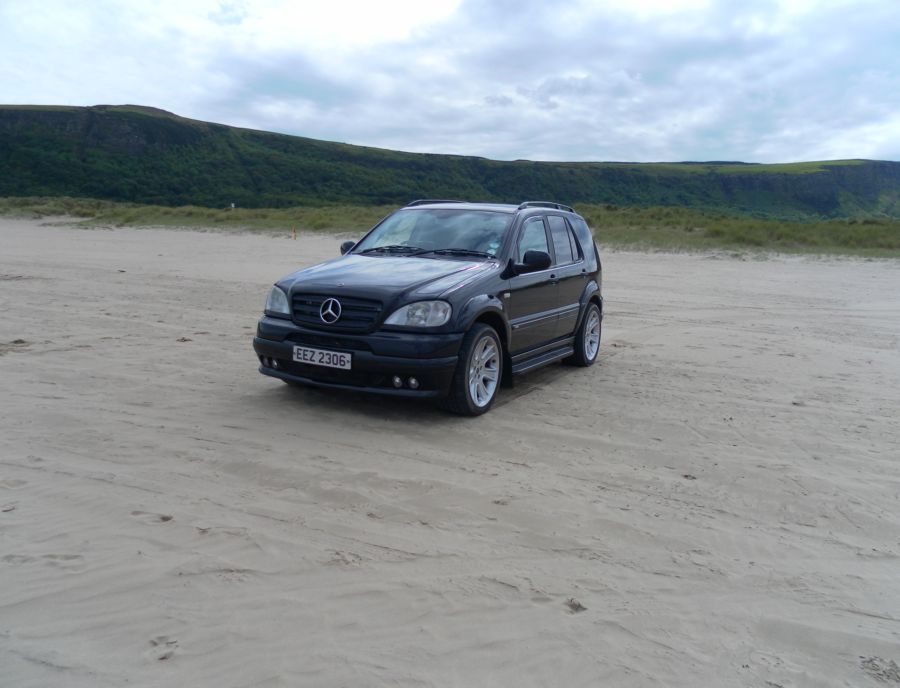
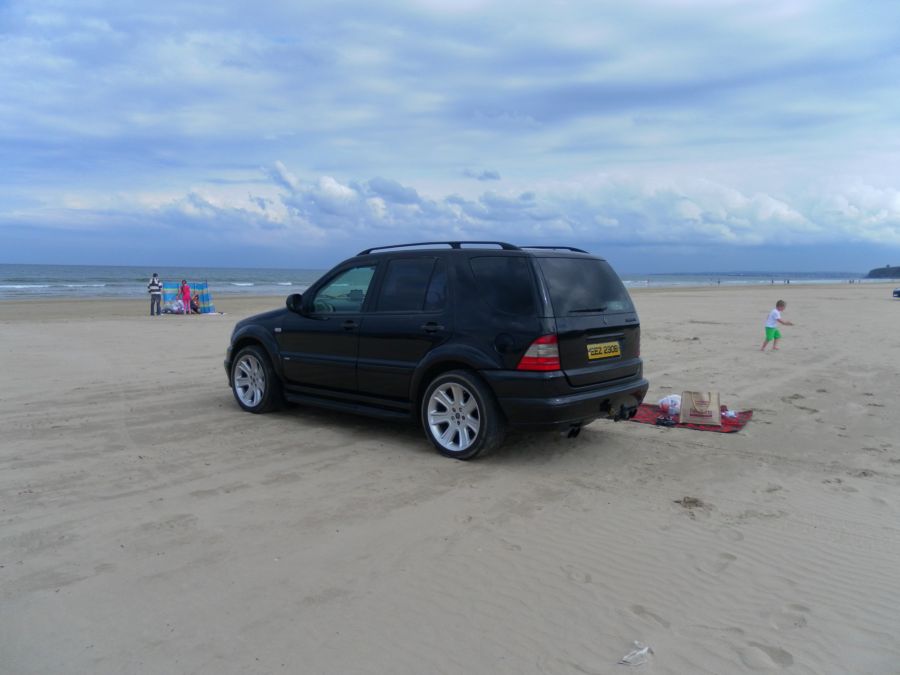
17/08. Second day we went to Bennon beach at castlerock.
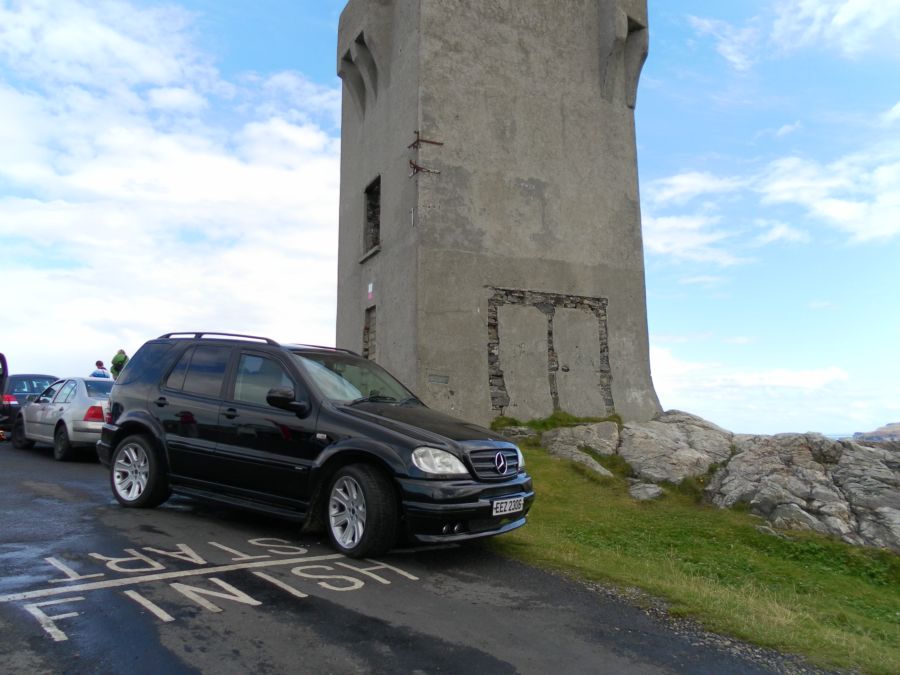
18/08. Malin Head, the most north westerly point of Ireland apparently.
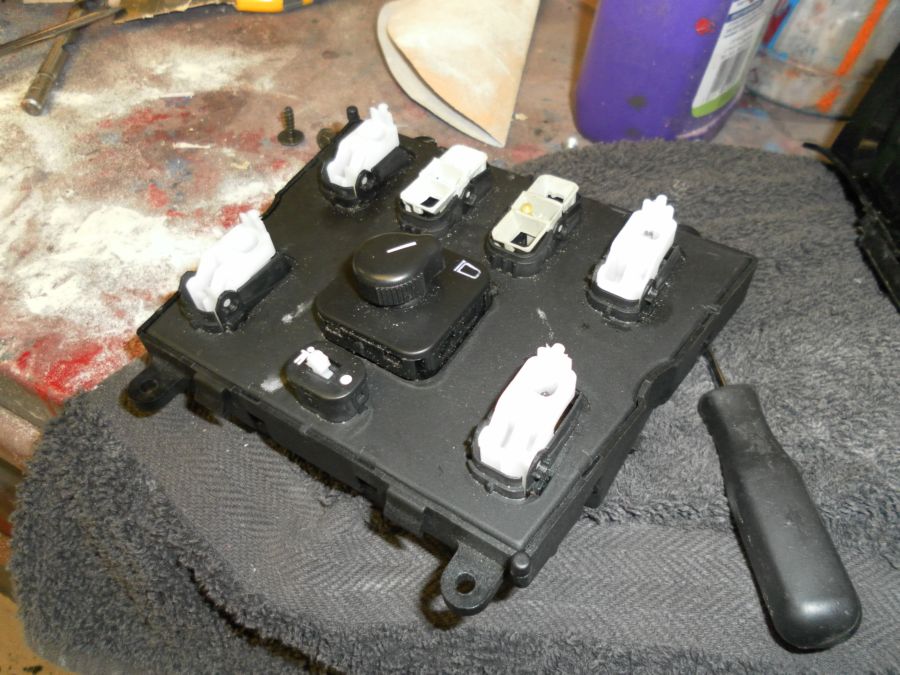
03/09. Over the past week or so my drivers front window has ben stuttering going up but last night it stopped altogether, and on checking, the passenger side front has stopped going up to. I read a piece on the net that the ML window switch is prone to the contacts bending over time and then the rocker of the switch cant push them together. So I had to strip the panel out of the centre consul (I didn't take photo's as its straight forward) and strip the panel. First thing you do is remove the bit of the rocker switches with the window identification on it as the panel will not lift over them. Be careful with the little child square one as its easily broken and also easily lost if it pops off.
Next the 4 screws that hold the panel together have to be removed.
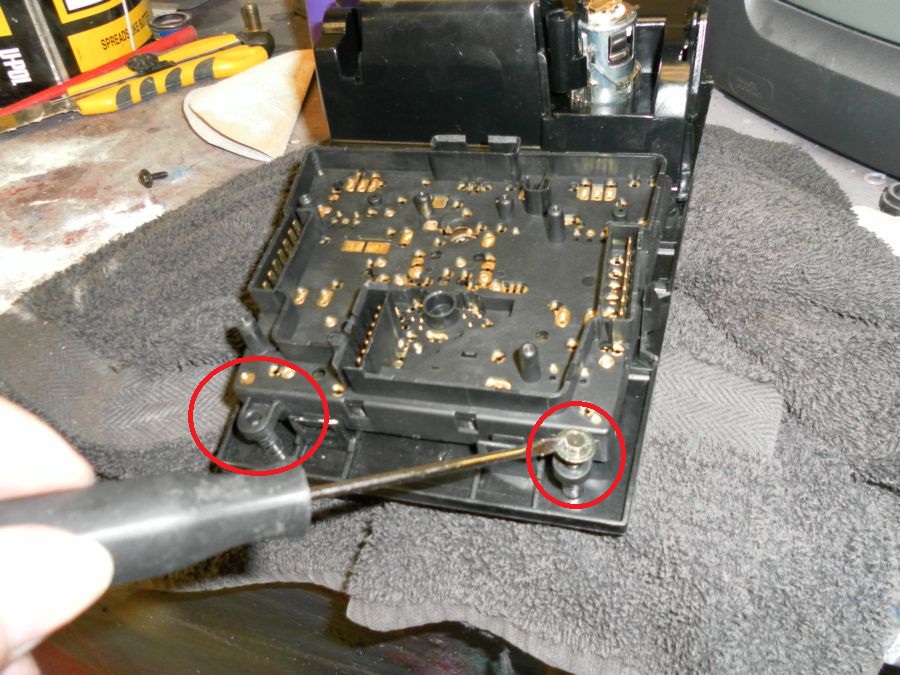
Using a small flat head screw driver then prise the panel out of the clips that hold it on and lift it away gently.
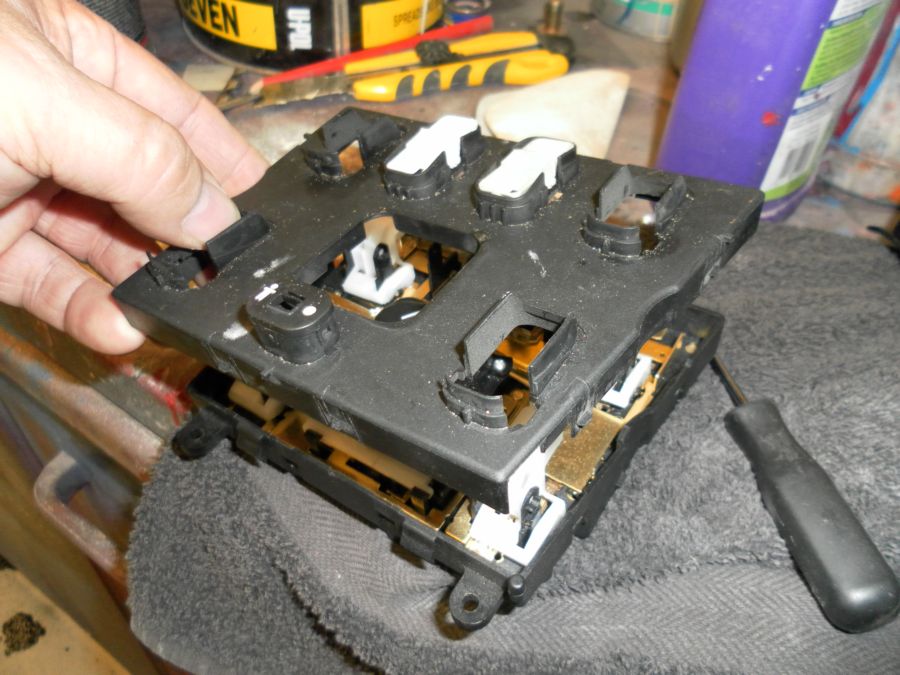
You then have to take out each white part of each rocker switch to get to the contacts. you can do this with your thumbnail if you have decent ones but be careful as the holder is pretty weak and I'd worry it would break easily. Also be careful you don't lose the little grey bit with a spring on it at the 'right' side of the rocker doesn't fly off and it is responsible for your rockers springing action. Once off there are 3 prongs, circled in red.
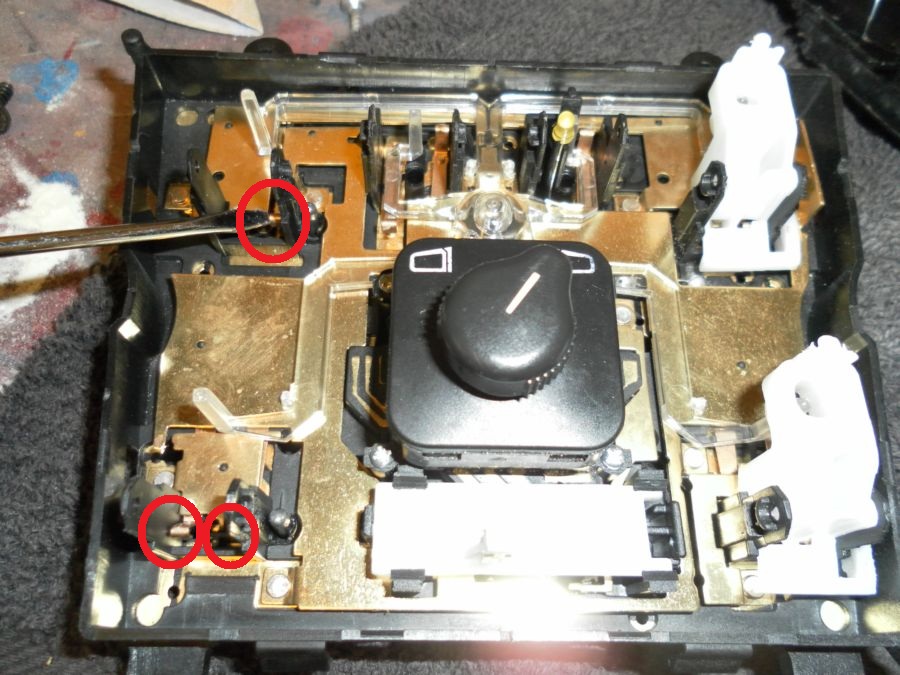
Using the small flat head screwdriver again, put it at the lip of the contact and gently prise it up a bit. What I did was do this then plug the wires back in to test it, I used the plastic bit of a cotton bud to push each contact down to make sure they were working. I also did it again once I'd put the white part of the rocker back on and of course when the whole thing was put back together. Once done you should have all your window functions back, my one touch down hadn't worked from I bought the car and now both are working.
01/10. I have decided to sell the brabus as I'm putting the Gwagen on the road soon so if you are interested please contact me.
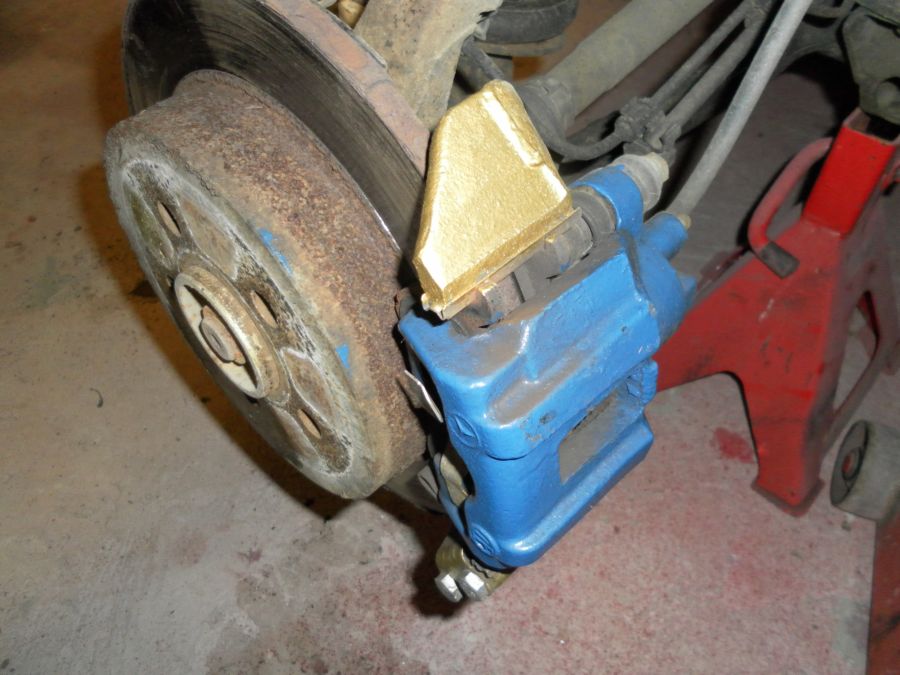
30/01/12. Its coming up to mot time and the handbrake has been getting a little weak so I got a new set of shoes and fitted them today. I'll not go through every step as the job is pretty straight forward. Caliper has to ome off first. Its 2 13mm bolts. Also at the bottom you can see 2 more 13mm silver bolts. they hold on a metal plate and this needs to come off as well.
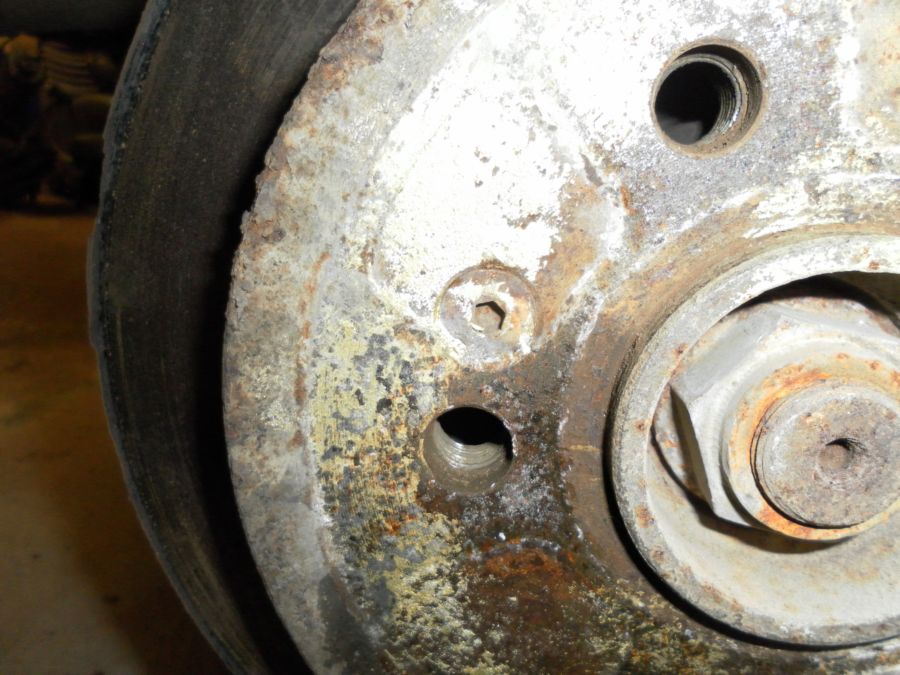
Next the hexi screw that holds the disc on has to be taken off.
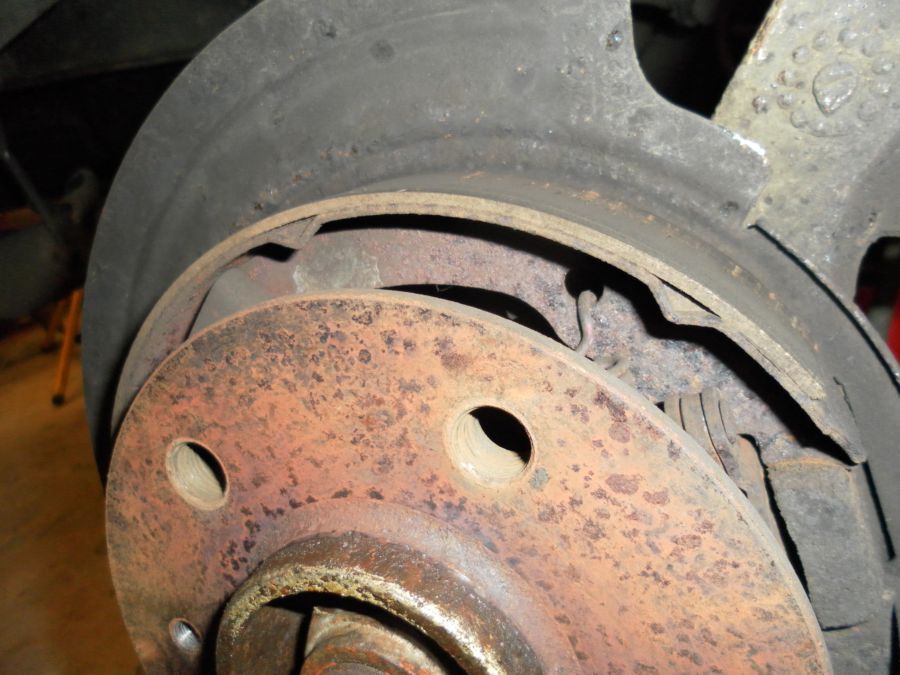
Then gently tap the disc until it frees and comes off as its more than likely stuck fast due to not being removed that often. You can see the shoe is worn but in not bad shape. Remove the retaining spring but be careful to note how they came off. And then remove the plate that holds the shoes to the backing plate.
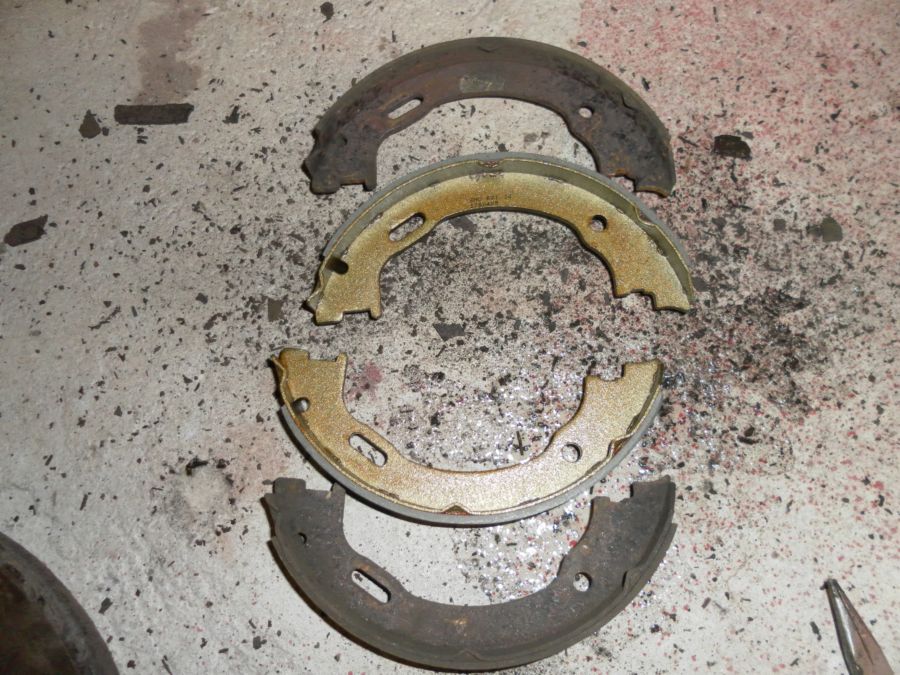
New and old shoes set out together to make sure they are the same for going on.
This is the brake adjuster. While its out take the time to make sure it turns freely and if you have any copper grease its a good idea to give it a good helping of it to stop any chance of it ceasing.
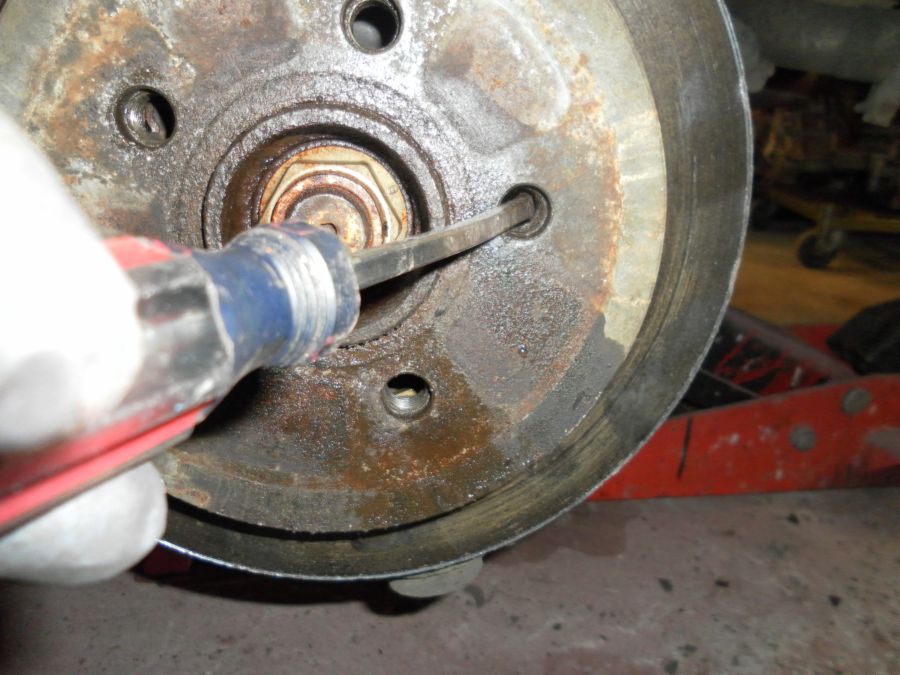
Just reverse all you have done to put the disc back on. And when alls tightened up you adjust the shoes by putting a screwdriver through one of the wheel bolt holes and turning the adjuster. Its very easy. And your done.
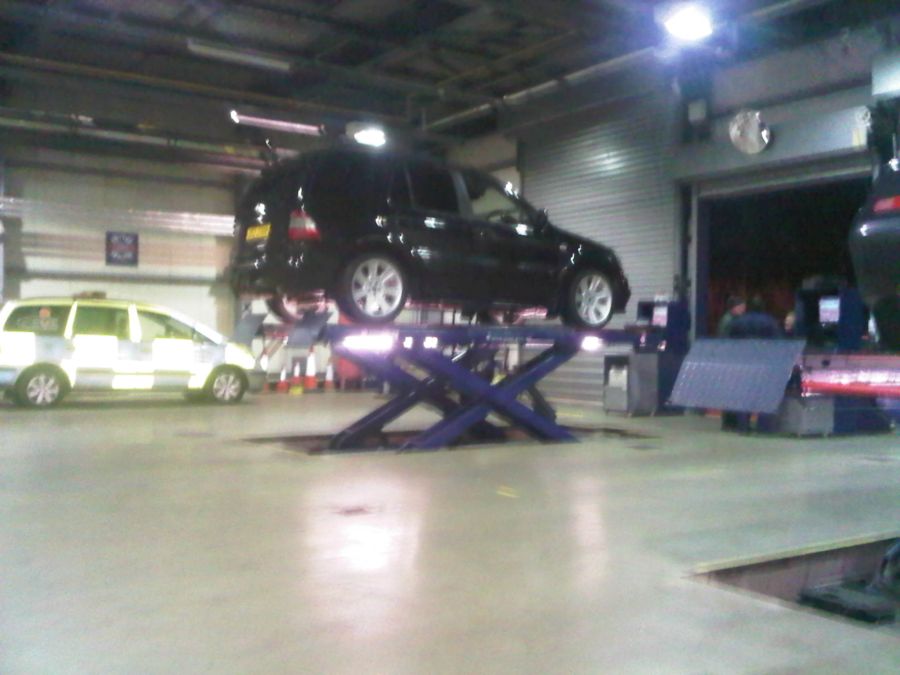
04/02. Mot day today. I took it for an underneath wash but I wasn't happy with the job the place did (the guy I usually use was closed) so when i got home I got the ramps and the power hose out and did it again myself.

Then it was over to mot. Passed with no issues at all. A good day. Sorry about the poor photo, I used the phone to take it.
28/07/12. Sold the ML today to a friend due to buying another car. Somehow I think this car will end up back in my collection.